ICTX – Making the Handle

ICTX – Making the Handle

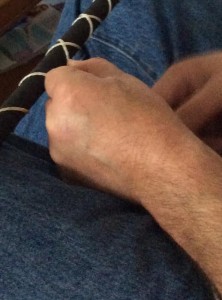
unnamedThis picture shows the process of wrapping the string, which is very intricate. You tape the handle first for addd friction. Once you have the pattern, you attach it at the end with tape and wrap it in a spiral like you would normally to create a grip.

image1

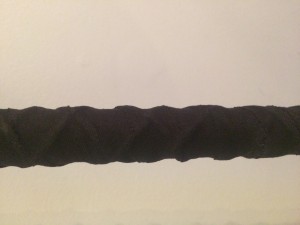
This shows how it looks with the tape overtop.

image2

If you can notice where it switches, the very middle has the string doubled for extra grip and to make it easier to find the point at which it is perfectly balanced.

Cutting and Peeling an Apple

Cutting and Peeling an Apple

apple
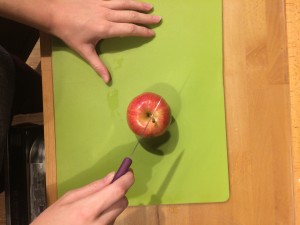
For Foods we were tasked with cutting and peeling an apple with a paring knife. I was pretty scared because last time I cut an apple did this it didn’t end very well but it went a lot better this time! The process is split into three time lapse videos because my phone ran out of storage space. I might try to edit them together later, but they mostly split up the process. The first is mostly cutting, with a little peeling. The next one is all peeling, and in the third I try something a little different to help and it comes out a lot cleaner. The apple was really bruised and the entire thing went less than ideal, but I think for my second try at cutting and first at peeling I don’t think it went too bad.

Cutting
Peeling
Peeling #2


How to Cook a Perfect Grilled Cheese Sandwich

How to Cook a Perfect Grilled Cheese Sandwich

Ingredients:
Two slices of bread
Butter
Cheese

Cookware:
Butter knife
Serving spatula (turner)
Frying pan
Plate (optional but recommended)
You may also need a cutting board and a sharp knife, suitable for cutting cheese

Time: >5 minutes

To start, put the frying pan on the stove and put it on medium. Once that’s done, take out your plate and put two slices of bread on it. Butter it, all the way to the edges. If you need to cut cheese, make sure the pieces are relatively thin so that it will melt (~5mm).
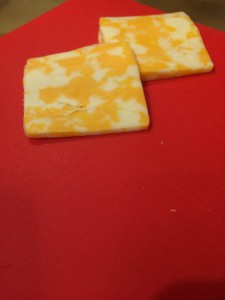
1

Flip one piece of bread upside down. (If you’re worried about sticking, you can stack it in the pan.) Arrange them on the sandwich as best you can. If you have some left over, eat it or put it in the middle.
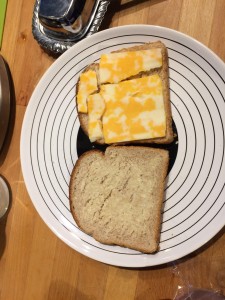
2

If you haven’t already, put the sandwich in the pan. You might first want to check its hot enough by splashing a little water off your fingers onto it and checking if it sizzles. I usually press down on the sandwich to flatten it.
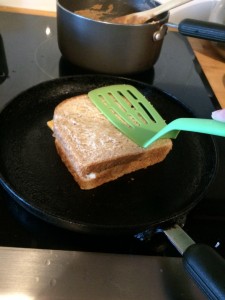
3

You can check the cook on the sandwich by flipping it or lifting it up. When you like the way it looks, make sure it’s flipped so the other side can cook. Check this one the same way, but also lift up the top piece of bread at the edge. If you meet some resistance and the cheese is melty, it’s probably good to go.
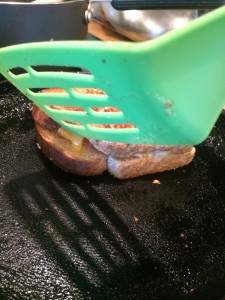
7-5

You can choose whatever cook you like. Some people like it dark brown, or light golden. Other people like it almost black. It’s completely preference, so watching it is important.
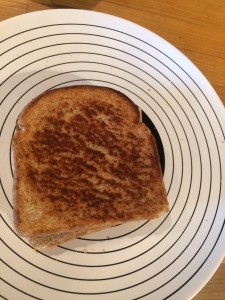
4

5

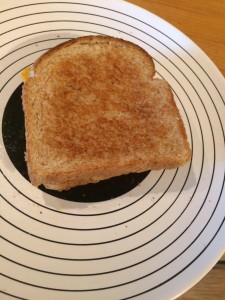
Enjoy!
6

How to Cook Rice

How to Cook Rice

Ingredients:
Rice of your choosing (not minute rice)
Water
Butter (optional)
Any seasonings you want to add

Cookware:
Wooden spoon
Pot & tight lid
Butter knife (optional)
Measuring cup

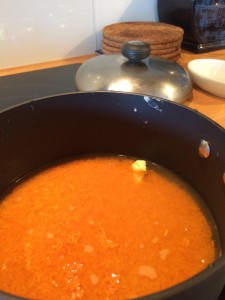
First off, you need to decide how many people you need to feed and how large a portion size you want. For a family of four, I use about 250 ml of rice. The ratio of rice is 2:1 (twice the amount of water to rice). Take your water, rice, and any seasoning you want (I add butter as well) and then boil it on high.
startboiling

When the pot comes to a boil, stir it, cover it, and then reduce the heat to between medium and low. Set a timer for ten minutes. This is a good time to start on other things you need to do.
boil

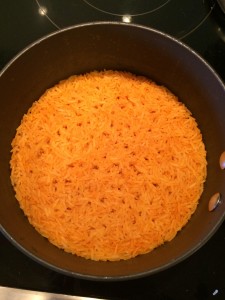
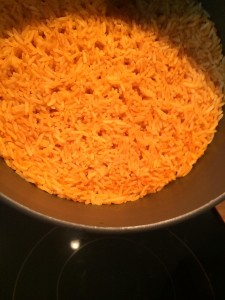
When the rice is finished, you should notice little round valleys in it. Those are a good sign! Don’t worry if you can still see moisture, because the next step is to let it sit covered for five minutes to absorb the water. I take it off the burner for this, but you could turn it down to warm if it seems a little extra watery.
letsit

After that, check to make sure it doesn’t need longer. It’s hard to see the difference, but if you tilt the pot you can see the reflection of the light off moisture better and also notice if it drips.
done

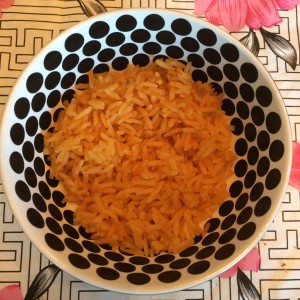
If it’s all good, it’s ready to be served!
bowl

I like to put Spanish rice in tacos.
tacos

How to Baste an Egg

How to Baste an Egg

Method: Frying pan

Ingredients:
Vegetable oil or substitute
Egg
Water

Equipment:
Frying pan
Serving spatula (turner)

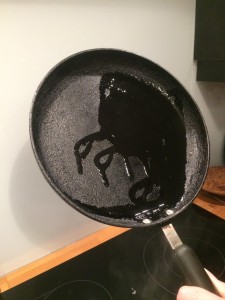
First, grease a frying pan. It doesn’t need to be entirely greased, only half or so, large enough for the egg. Put it on medium high.
7

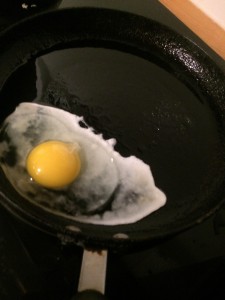
Check that the oil is hot by splashing a little a little water in. If it spits, it’s ready! Break an egg into the pan, and turn it down to medium.
8

When the whites are cooked but there is still a clear film on the yolk, splash in a small amount of water-around 20 ml or less, and cover for two minutes or so. When the top of the yolk is covered in white film and brown edges are just forming, it’s done!
11

How to Poach an Egg

How to Poach an Egg

Method: Poaching cup

Ingredients:
Egg
Butter or substitute
Water

Cookware:
Frying pan
Poaching cup
Fork
Plate (optional)
Knife (optional)

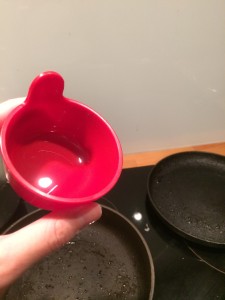
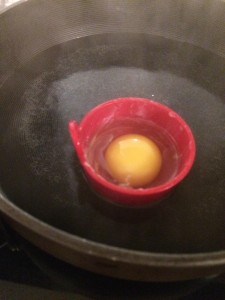
First, take a small frying pan with high sides and put in less than half an inch of water in, and put it on high to boil. Then, grease the insides of a poaching cup.
6

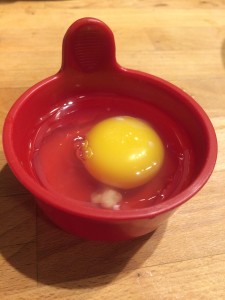
Once that is done, break an egg into the cup.
5

When the water is boiling, place the cup in the pan and cover it. Turn it to medium and set a timer for seven minutes.
4

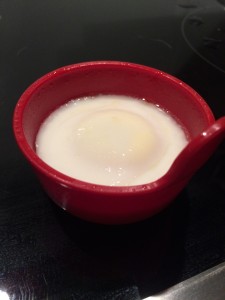
When the timer goes off, remove the cup from the pan. With a fork, hold the egg in the cup and tilt it slightly. If the liquid runs clear and there is no white in it, it is ready. Drain excess water, and then slide the fork around the inner edge of the cup.
3

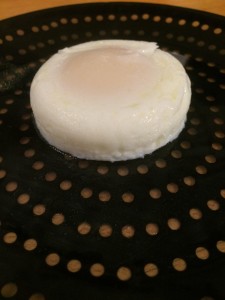
Flip onto a plate and enjoy!

unnamed

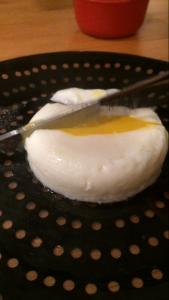
Ideally, you want the yolk to run, but you can cook it more if you like.
unnamed