For ICTX, I am working with a classmate on a project that is sort of a combination of interface and design, comparing three VR 3D art programs, Medium, Tilt Brush, and Quill, all of which are available for the Oculus Rift.
Category: Uncategorized
War Card Game Completed
I finished the full tutorial, and after a long time of trying to fix an issue with the code, the app works! It’s a lot simpler then I thought it would be, because the UI Kit takes care of all the code behind displaying images and randomization, and you just need to write out a few words.
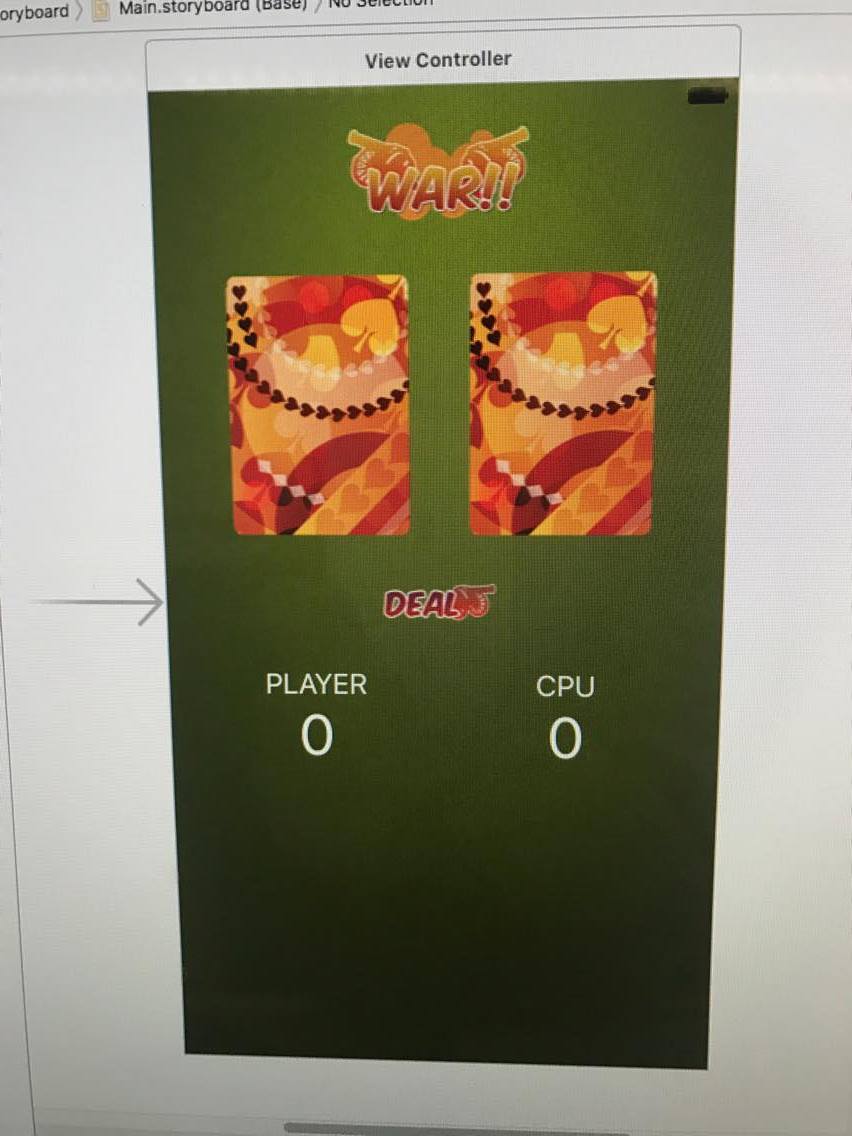
It went through stages. Last update, it was sort of empty, just a template to fill in. Now, upon pressing the deal button, it displays two cards at random, and tallies the score based on the assigned number value of the cards (ace being high). The score doesn’t change at all for ties.
I’ve done well over a hundred dealings, and the CPU seems to have a higher win rate, but I suppose that’s just luck as it is the same code behind both sides. Here are a few pictures of it working in the simulator:


I’m not sure exactly what I will try and do next, but I’m having a lot of fun with Xcode so I’m excited to play around with it more.
Edible Cookie Dough
For Valentine’s Day this year, I am trying something a little different, and making edible cookie dough per this recipe here.
Here is the recipe for the base dough from the website:
“INGREDIENTS
Servings: 4-6
2 cups flour
1 cup brown sugar
1 cup butter, softened
2 tablespoons milk
1 teaspoon vanilla
1 teaspoon salt
PREPARATION
1. Preheat oven to 350˚F/175˚C.
2. Evenly spread flour on a baking tray and bake for 5 minutes.
3. In a large bowl, mix flour, sugar, butter, vanilla, milk, and salt until combined evenly.
4. Refrigerate mix for 30 minutes and then separate into 4 sections.
5. Enjoy!”
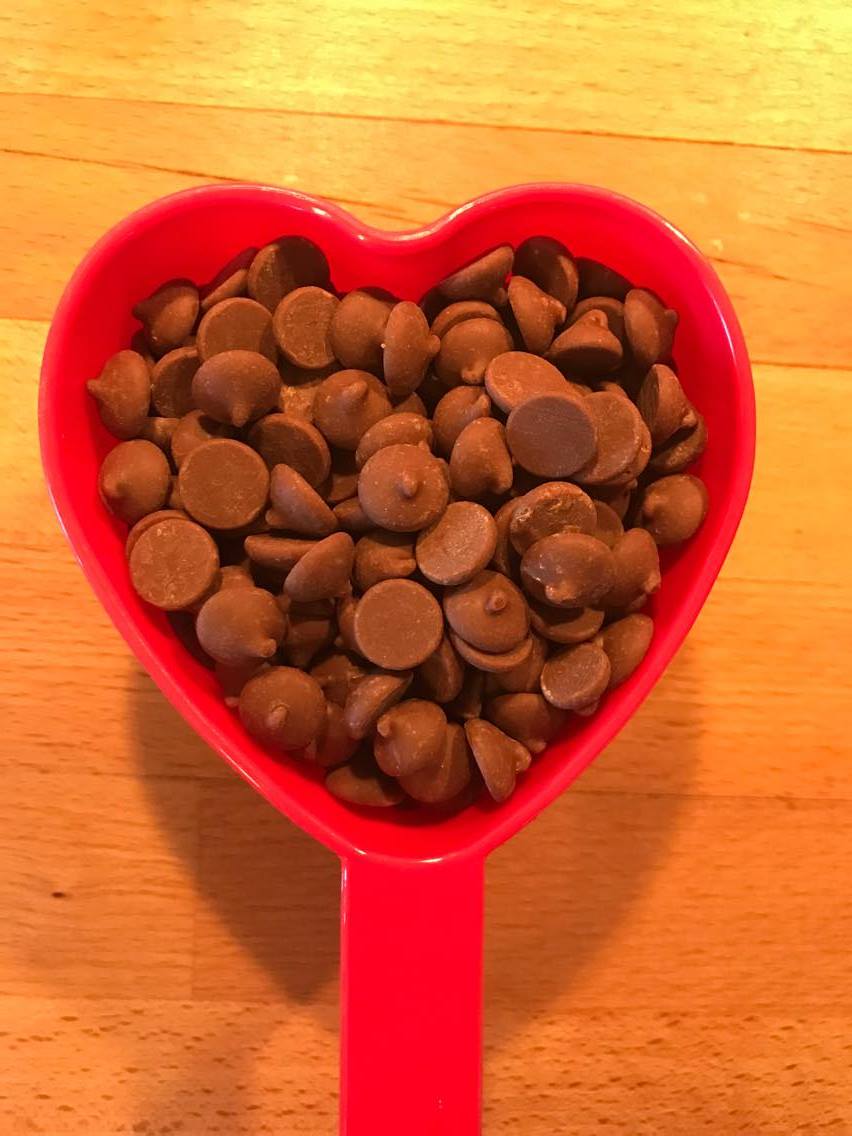
I will be adding in chocolate chips to my liking as well so that there is more too them.
Notes and thoughts:
The first step is to bake the flour, and this is to kill any bacteria that may be in it. Most people don’t know that this is necessary, and this step is technically skippable-but I wouldn’t. Don’t take the risk. That’s part of making this 100% edible cookie dough.
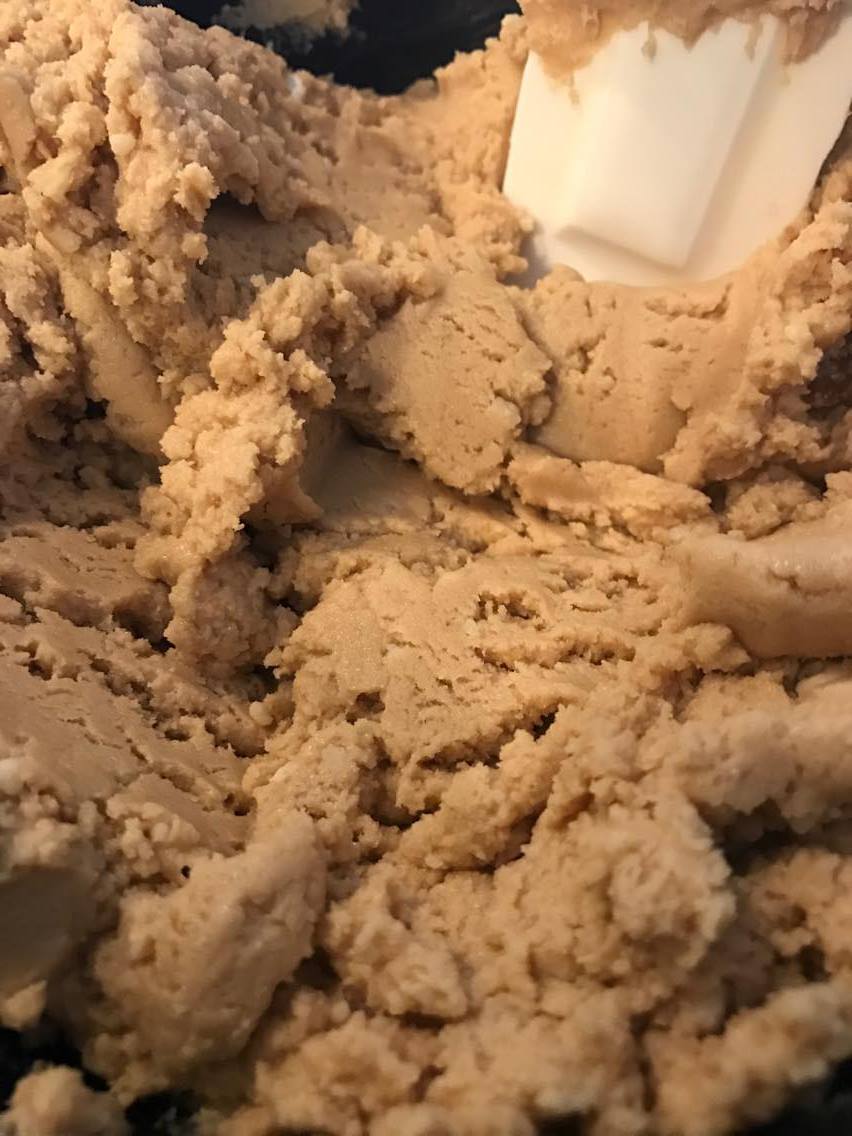
When mixing everything together, I added the flour gradually, because it was a little lumpy after being baked, and I actually mixed everything else together beforehand while it was in the oven.
I added two cups of chocolate chips after it had cooled in the fridge (it’s ready when it’s nice and spongy), and then formed the shapes with an ice cream scoop. I let them sit again in the fridge before serving so that they would keep their shape better without crumbling.
In the end they tasted great and were a bit hit for Valentine’s day, and I’m really glad. I might try some of their other suggestions for flavours and add ins later or even come up with my own.
Testaments:
“Awesome.” -P
“It was so good.” -M
“It was delicious!” -L
“The cookie version of fudge… nuff said… Awesome.” – W
I would highly recommend making this it went over really well and it really was like cookie dough, but without the risk of serious food borne illness.
ICTX
For my current ICTX project, I am working on app coding. I have very little coding experience (I can do drag and drop, like Scratch, and I wrote code to make a light blink), so I am starting from basics, using this tutorial and Xcode. Currently I am working through it to create an app that simulates the card game War.
So far I have learned how to create a basic UI using auto-layout constraints and stack views, as well as how to turn off things like landscape view. The next step is to build the code behind the app, which is a little nerve wracking but also exciting. I’m pretty excited to learn how to randomize the cards, because I’ve always been sort of curious about that.
This is what it looks like so far:
Cali & Ko Update
Our queue on tumblr has successfully been running since the last update, and posts will continue every Friday and some in between, such as one post scheduled for Valentine’s Day. Storyboards for the comic prologue are now finished, so we are looking towards getting that finished and ready to be posted, as well as continuing to develop the story into a form that’s fully ready to be drawn.
An Update on Cali & Ko
On our tumblr, we have a running queue with some sketches or tidbits every Friday, with some intermittently as well. Our tagging system is more refined as well, using C&K and Cali & Ko as identifiers, along with characters first names and then categories that it fits into.
Our Tapastic is also up and running, though it is not going to be in use for a while yet. This is because it is for actual comic pages, we are in the beginning stage of the process, working out a layout for panels and what we want in them. After this, we will go to story boarding, drafting, and then completing pages, so it will be a while yet before the prologue is posted.
Is it also worth noting that our comic is one of the projects featured on the home page of our school website. The specific post can be found here: http://www.inquiryhub.org/caliandko/
Baked Brie
Ingredients (for one):
-Stick of butter
-Package of phyllo pastry (you will only need half-about eight sheets)
-A brie wheel
-Brown sugar
-Toppings of your choice ex. ground cranberries, almonds
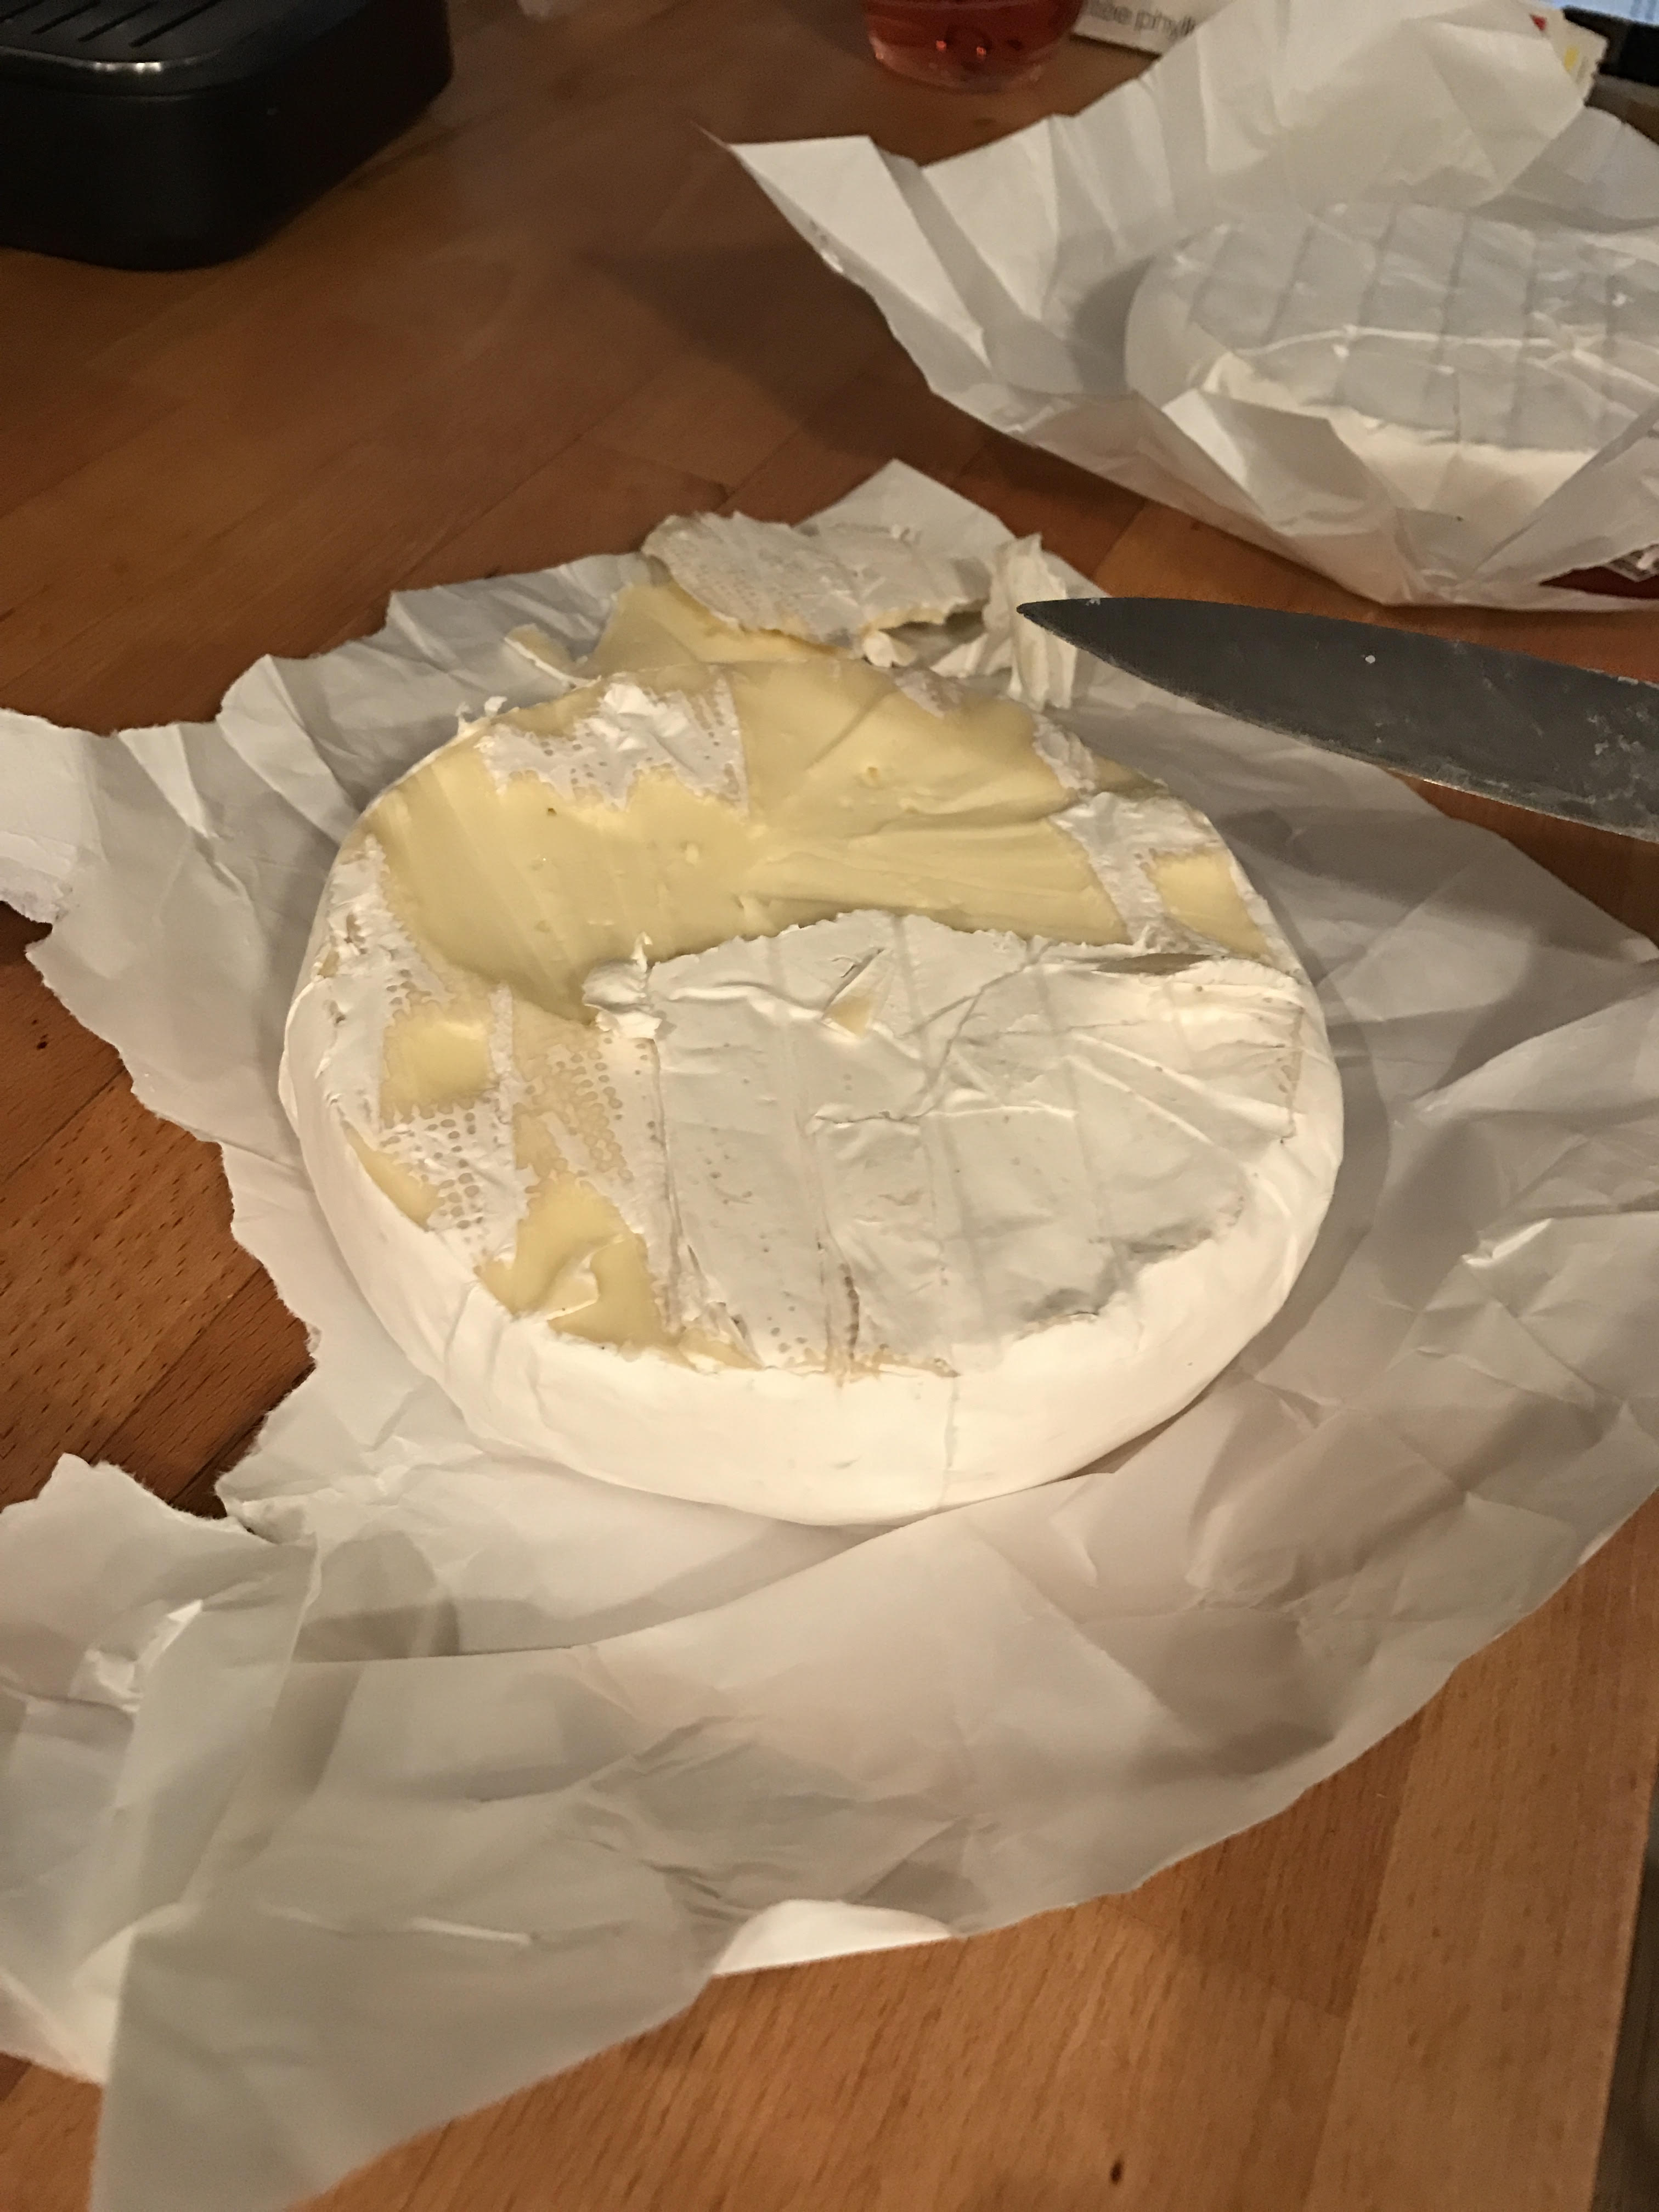
To start, melt your butter, and (optionally) cut the outer mold off of your cheese wheel.
With a pastry brush, coat the inside of your pan lightly with butter, and lay the first sheet of phyllo. Butter this sheet, then put on the next sheet, alternating between horizontal and vertical. You can choose how many layers you would like, but I recommend around eight.
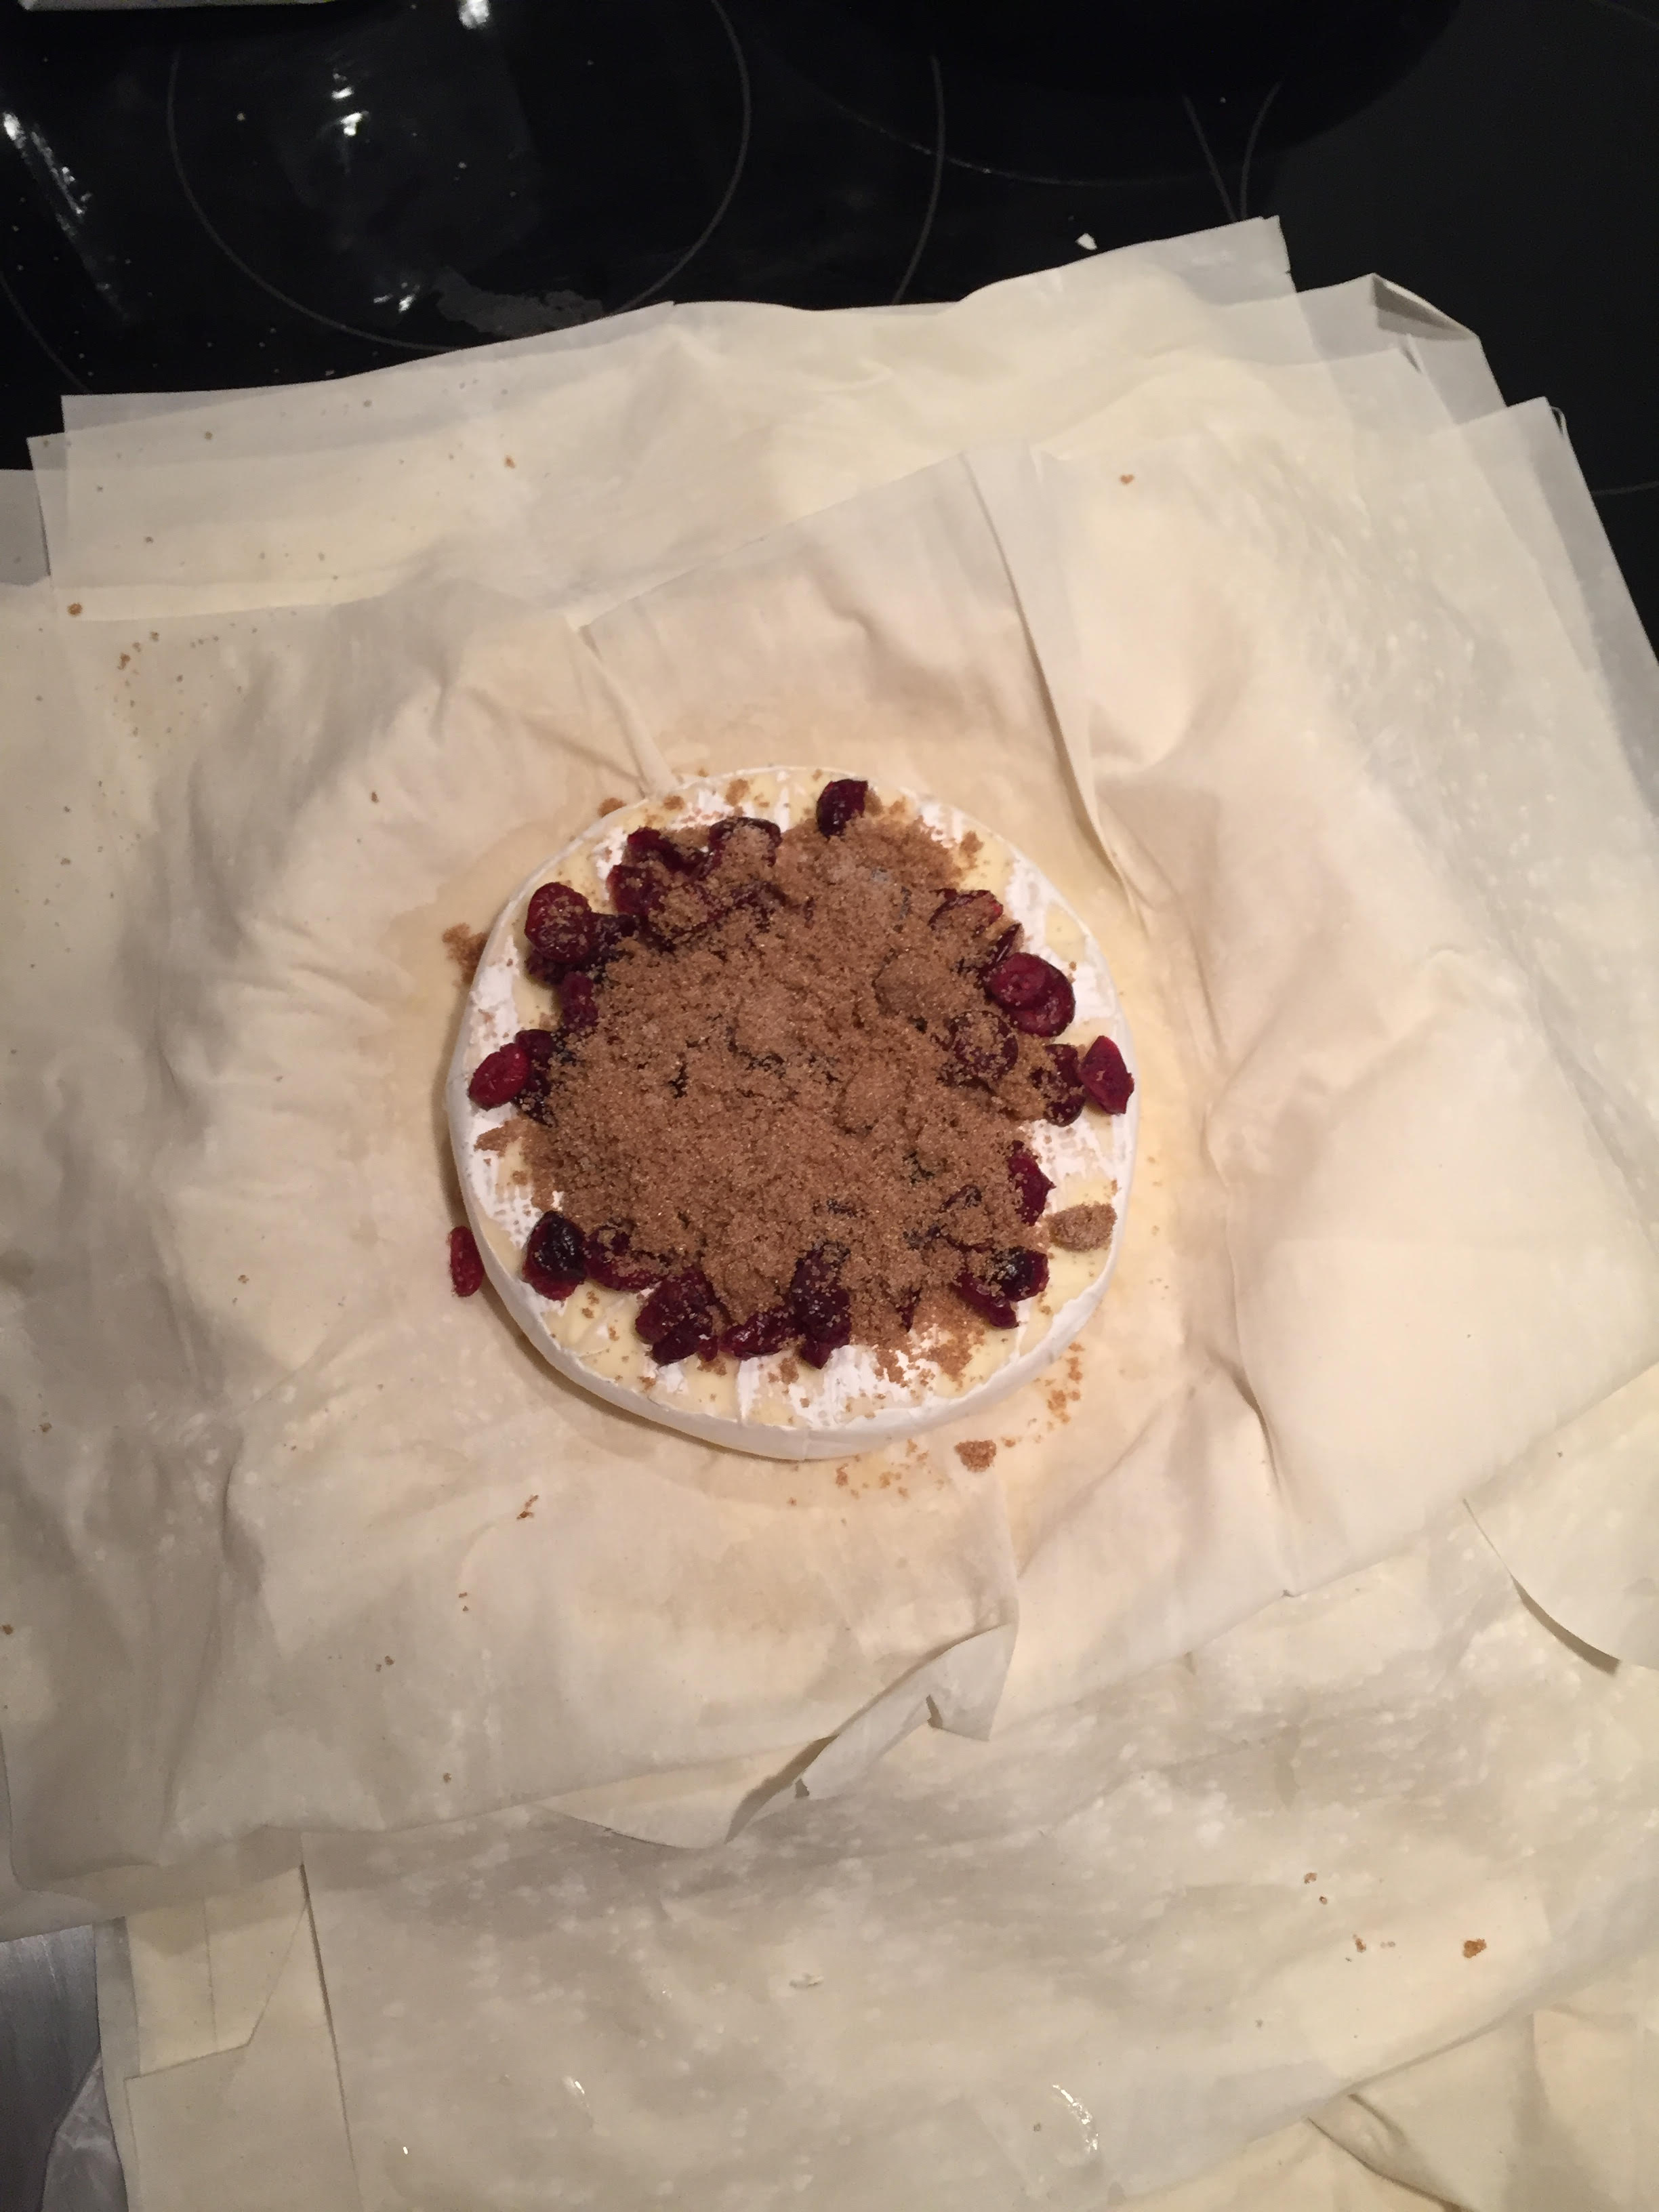
When finished, place the cheese on top of the phyllo in the center. Crumble a couple tablespoons of brown sugar over it, until it is thoroughly coated, and then sprinkle on any other toppings.
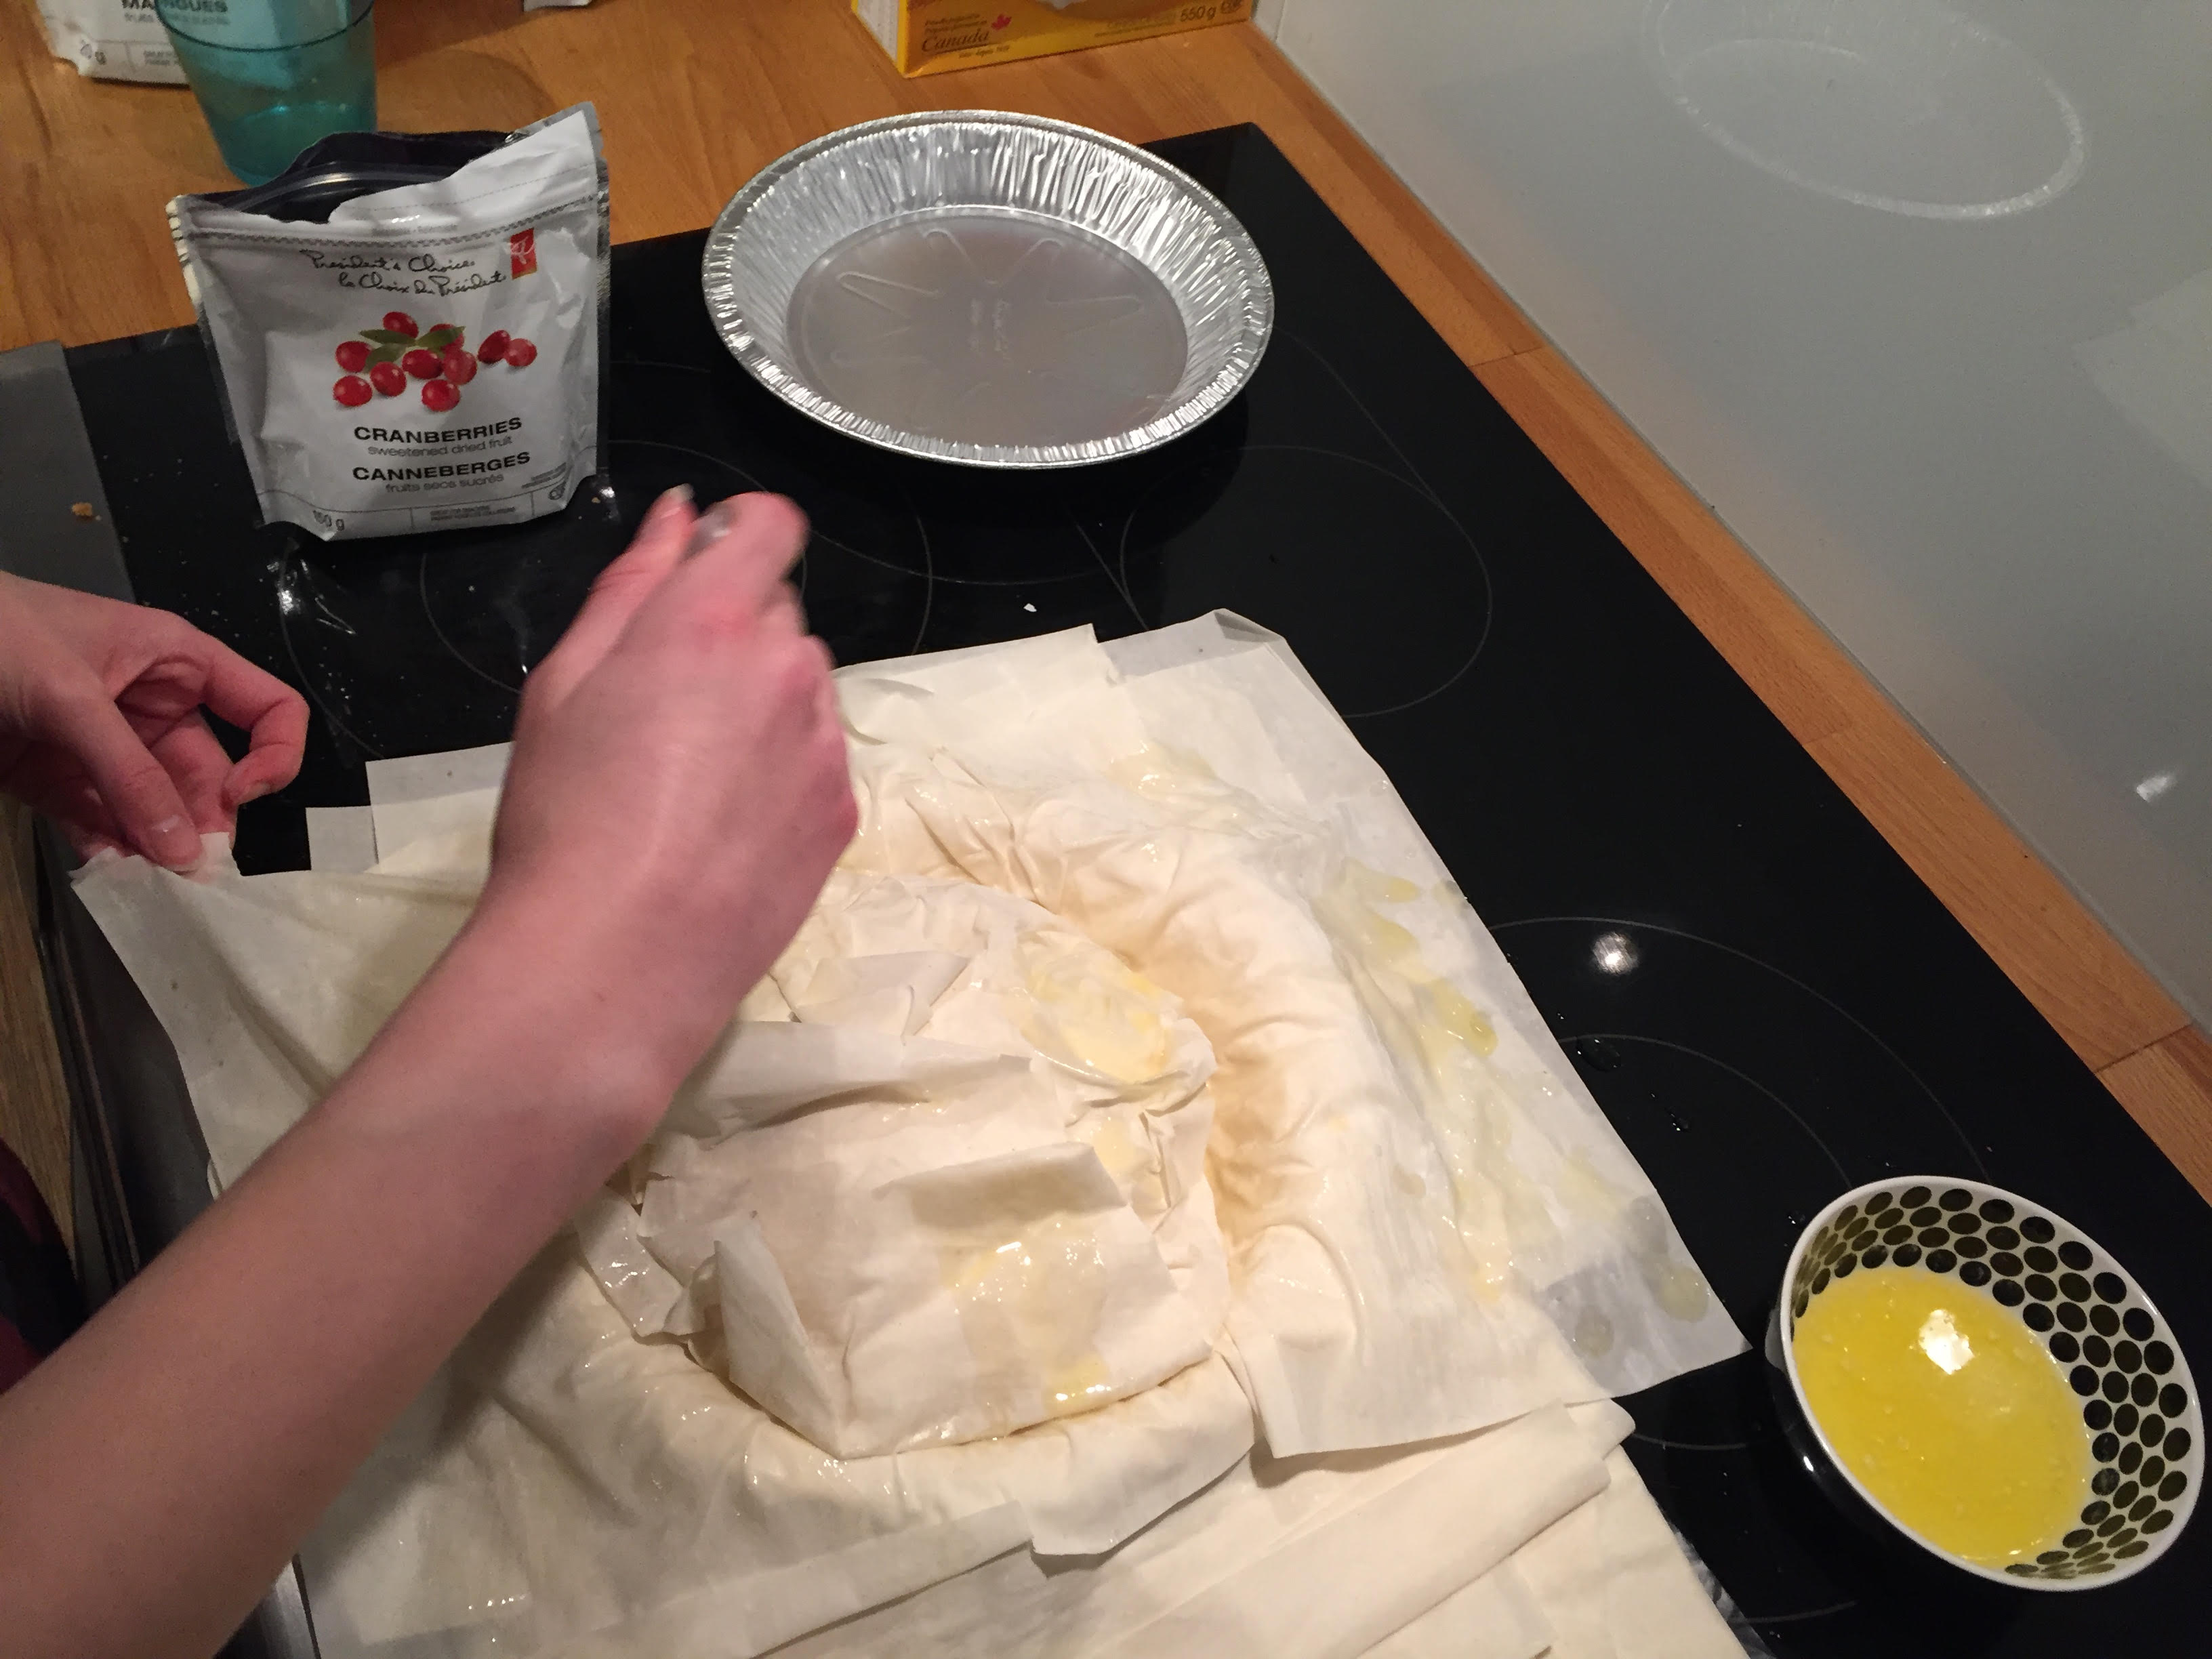
Layer by layer, butter inbetween, fold over the sheets of phyllo so that the cheese is completely covered. When finished, thoroughly coat the outside in butter.
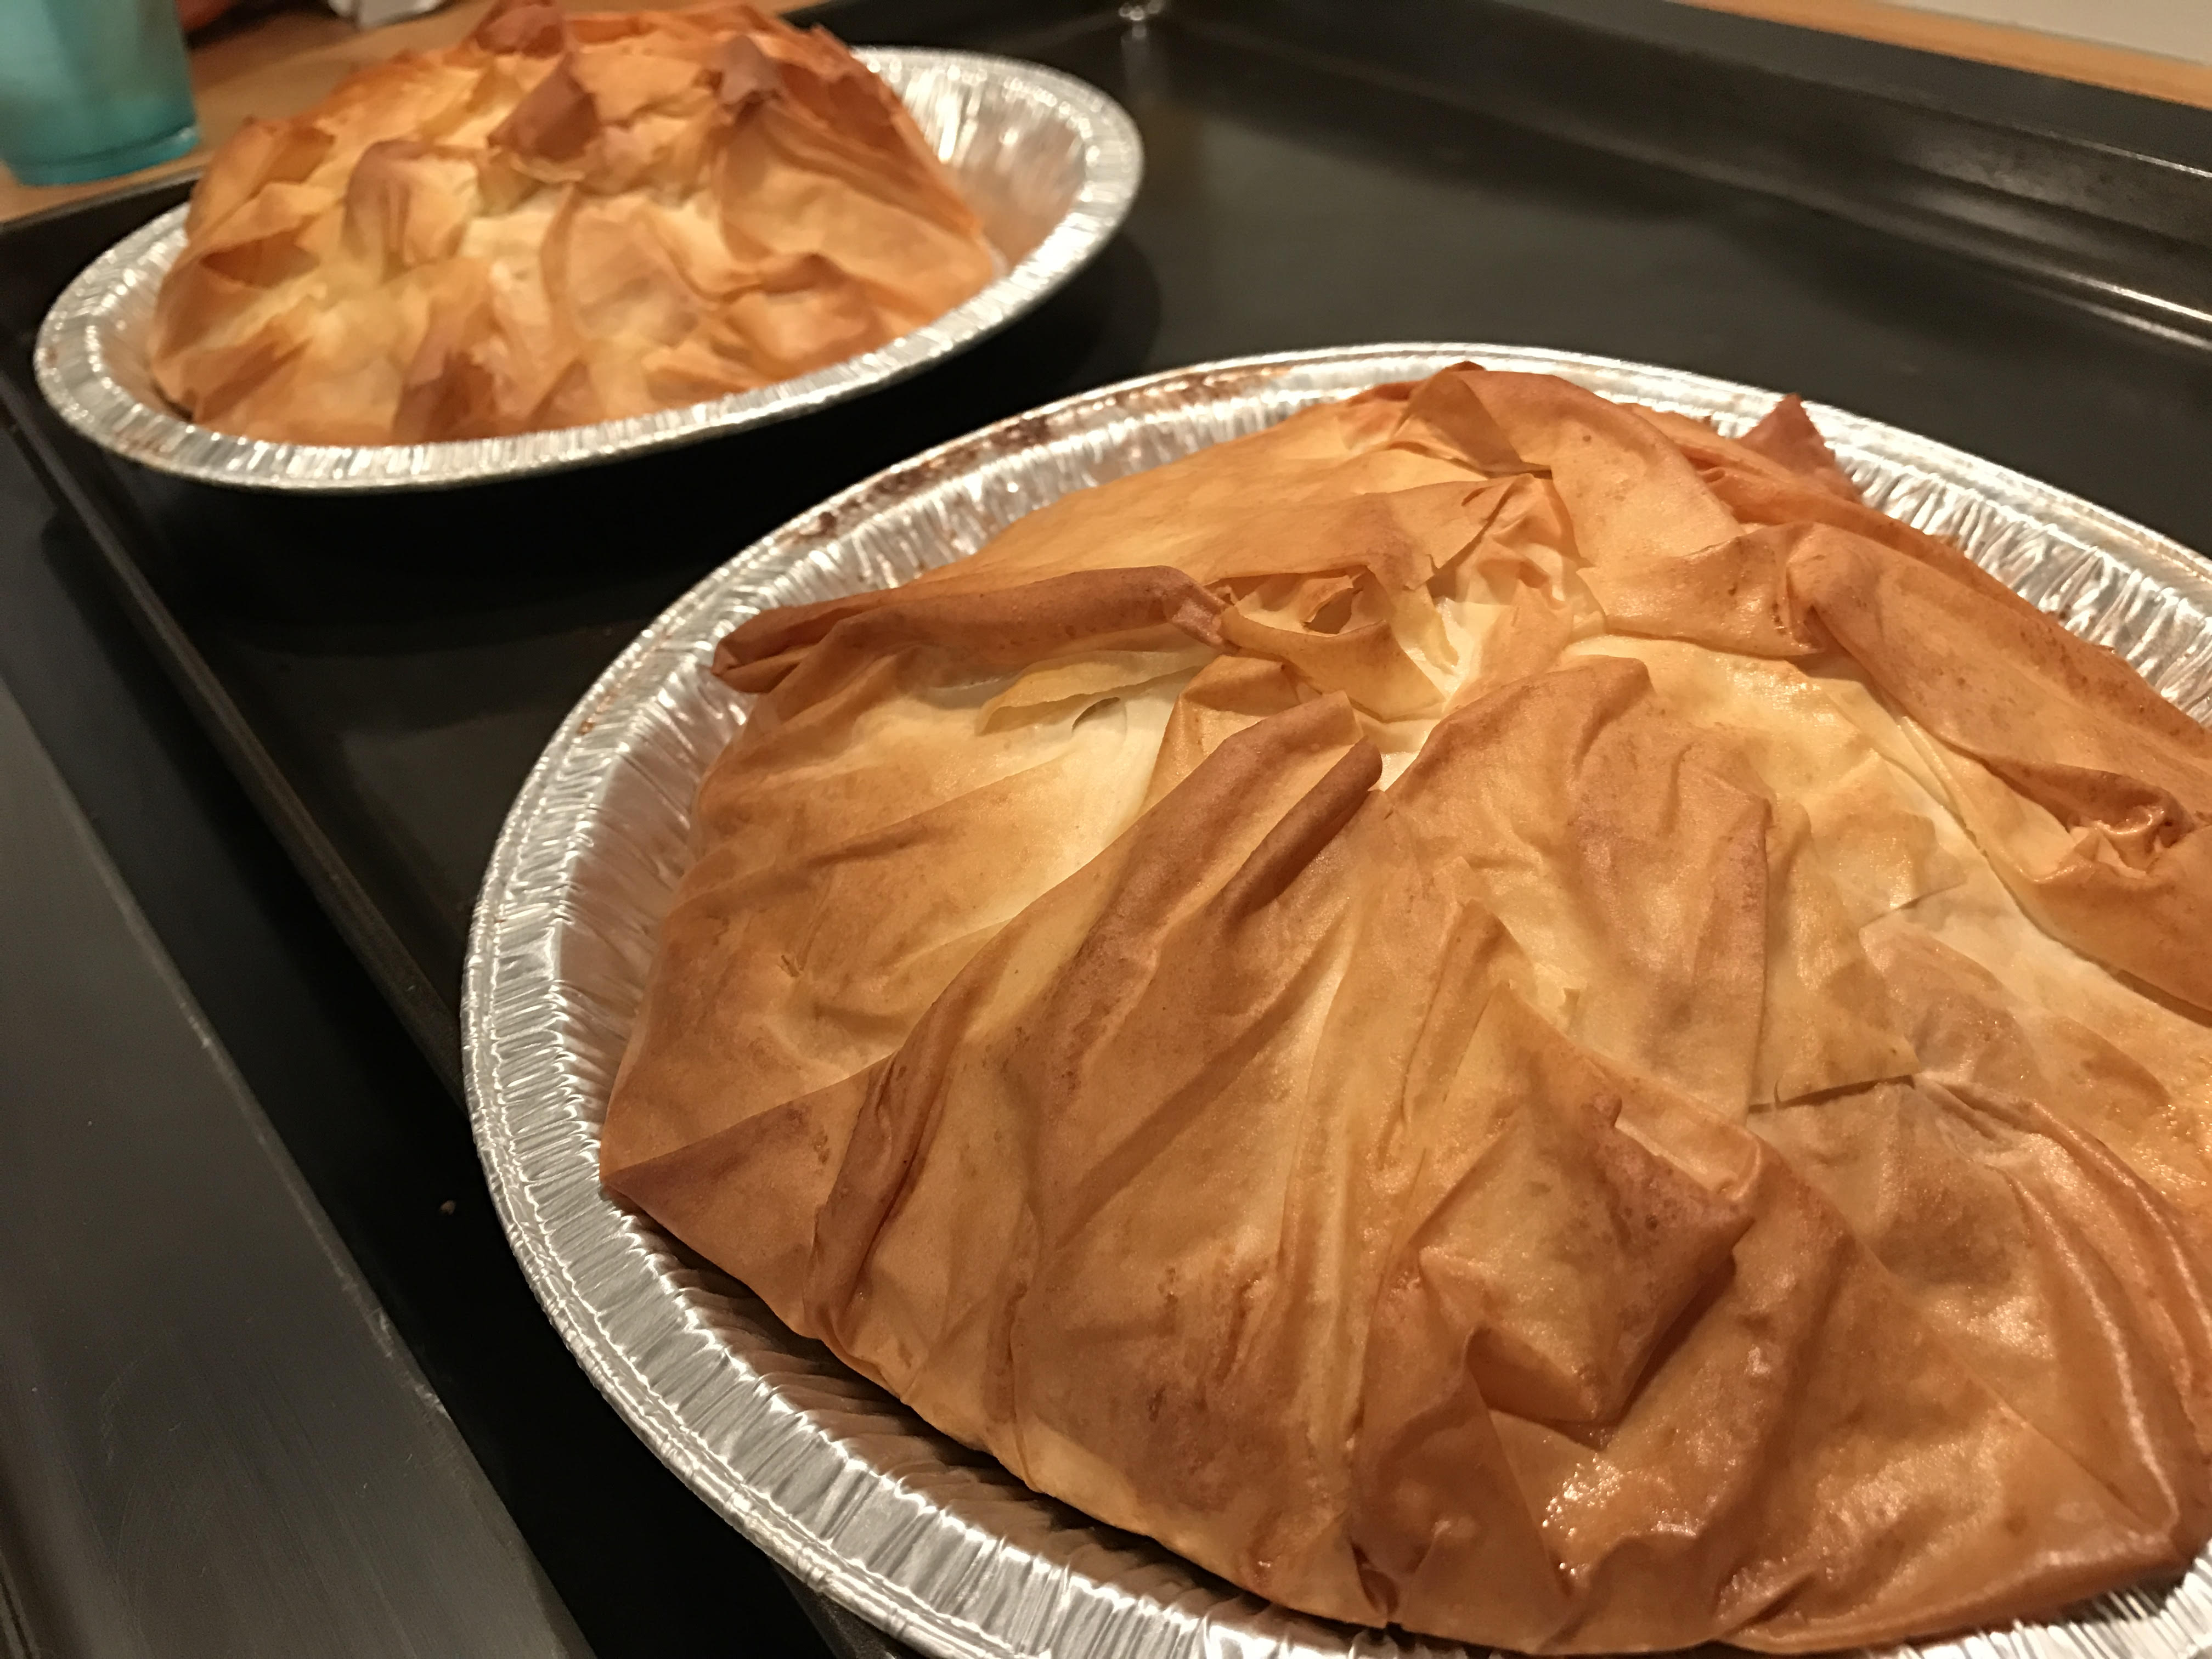
Bake at 200⁰ F for twenty minutes, rotating it halfway through. It is advisable to keep the pie tin on a baking sheet to make this easier, especially if you are making more than one at a time.
When it is golden brown and the cheese is soft enough to be easily spreadable, it is finished.
Enjoy!
Crock Pot Vegetarian French Onion Soup
This recipe is based on this one, but has been modified to suit my personal tastes: http://www.vegetariantimes.com/recipe/best-french-onion-soup
Ingredients:
Vegetable oil or butter
Minced garlic
Ten onions
2 teaspoons of sugar
2 teaspoons of salt
Four-five tablespoons of flour
Two packages or around twelve cups of vegetable broth
Worchestershire sauce (Check that it is vegetarian)
Pepper
Directions:
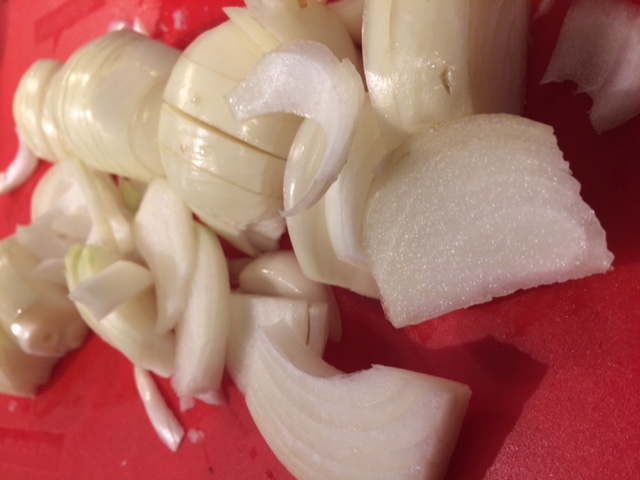
First, gather your ingredients and slice your ten onions.
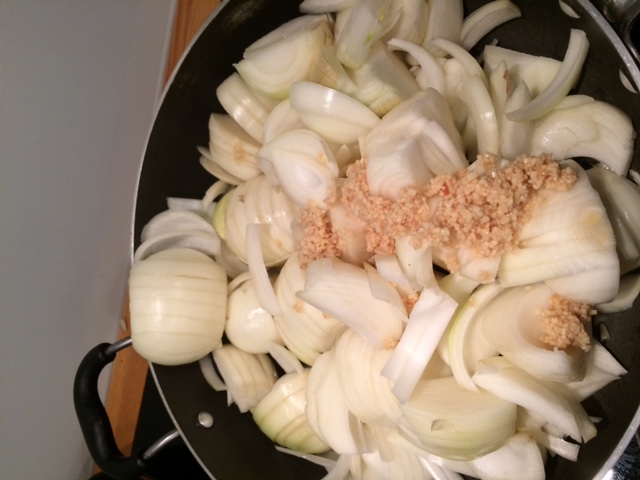
Coat the bottom of a frying pan or grill pan thoroughly with vegetable oil or butter and heat it to medium-high. When hot, mix in four tablespoons of minced garlic and your sliced onions.

After stirring that up, add your salt and sugar, and stir again.
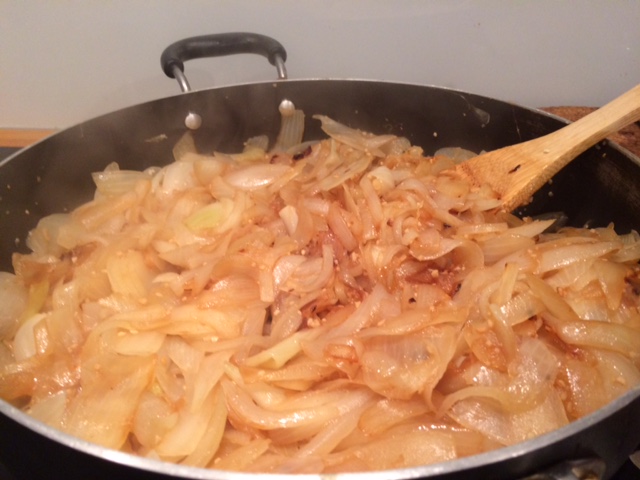
You want to sauté the onions until they are all nicely golden brown. You may need to turn down the heat to medium if your pan is not large to avoid any burning.
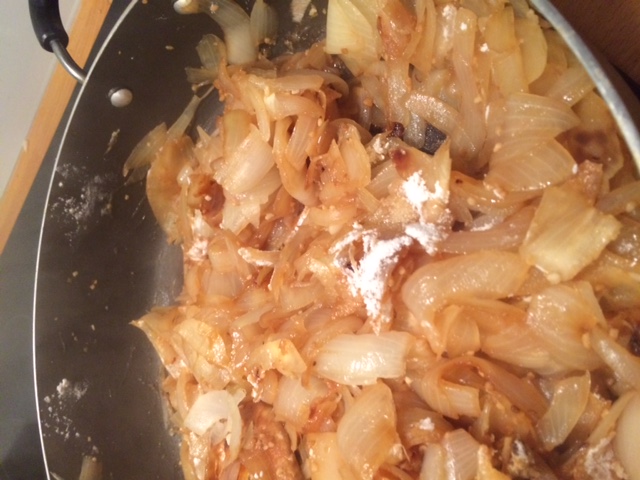
When they are finished, mix in the four tablespoons flour so the leftover liquid thickens. If it is still thin, add an extra tablespoon.
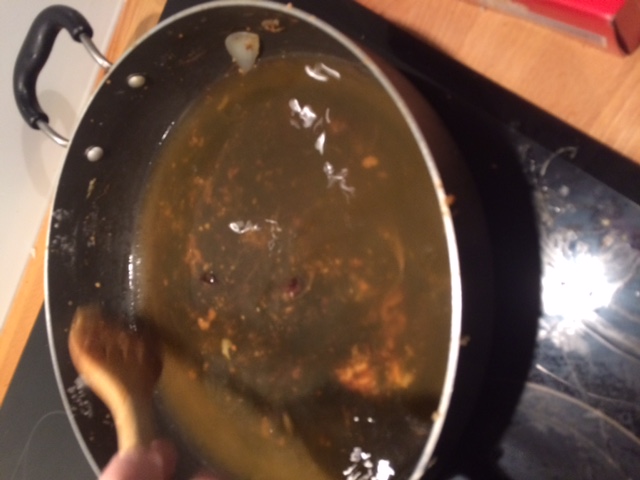
Then, put your onions and twelve cups of broth. Mix some of the broth in the frying pan after you take out the onions and mix it around before adding it. This will get out the extra garlic and onion stuck to the pan.
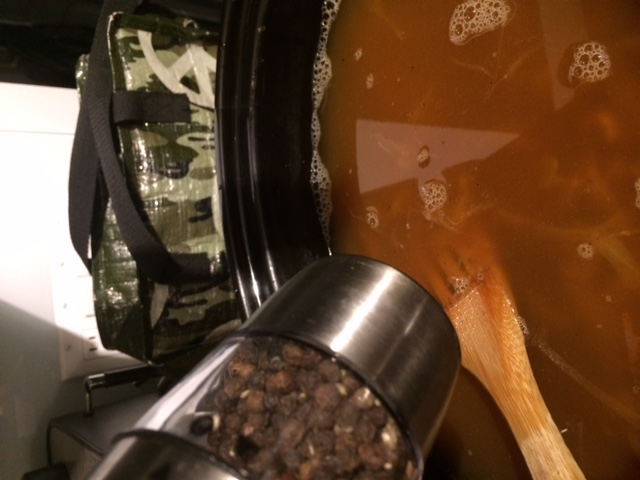
Add pepper and garlic to taste. I added an extra two teaspoons of garlic and just a dash of pepper. Then you leave it to warm and ‘steep’ for a few hours on medium.
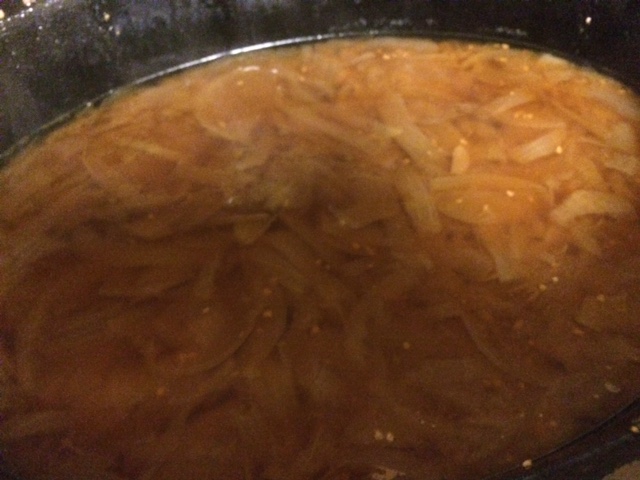
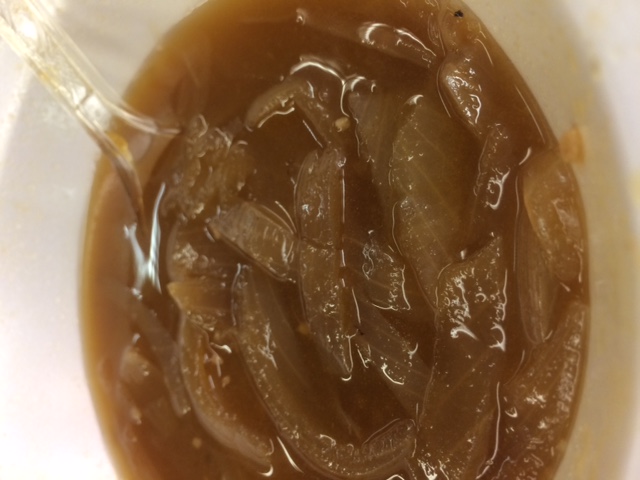
Enjoy!
For a more traditional take, melt cheese on top of the bowls of soup and serve with bread. Or just enjoy it on it’s own.
We Day
Making Sandwiches
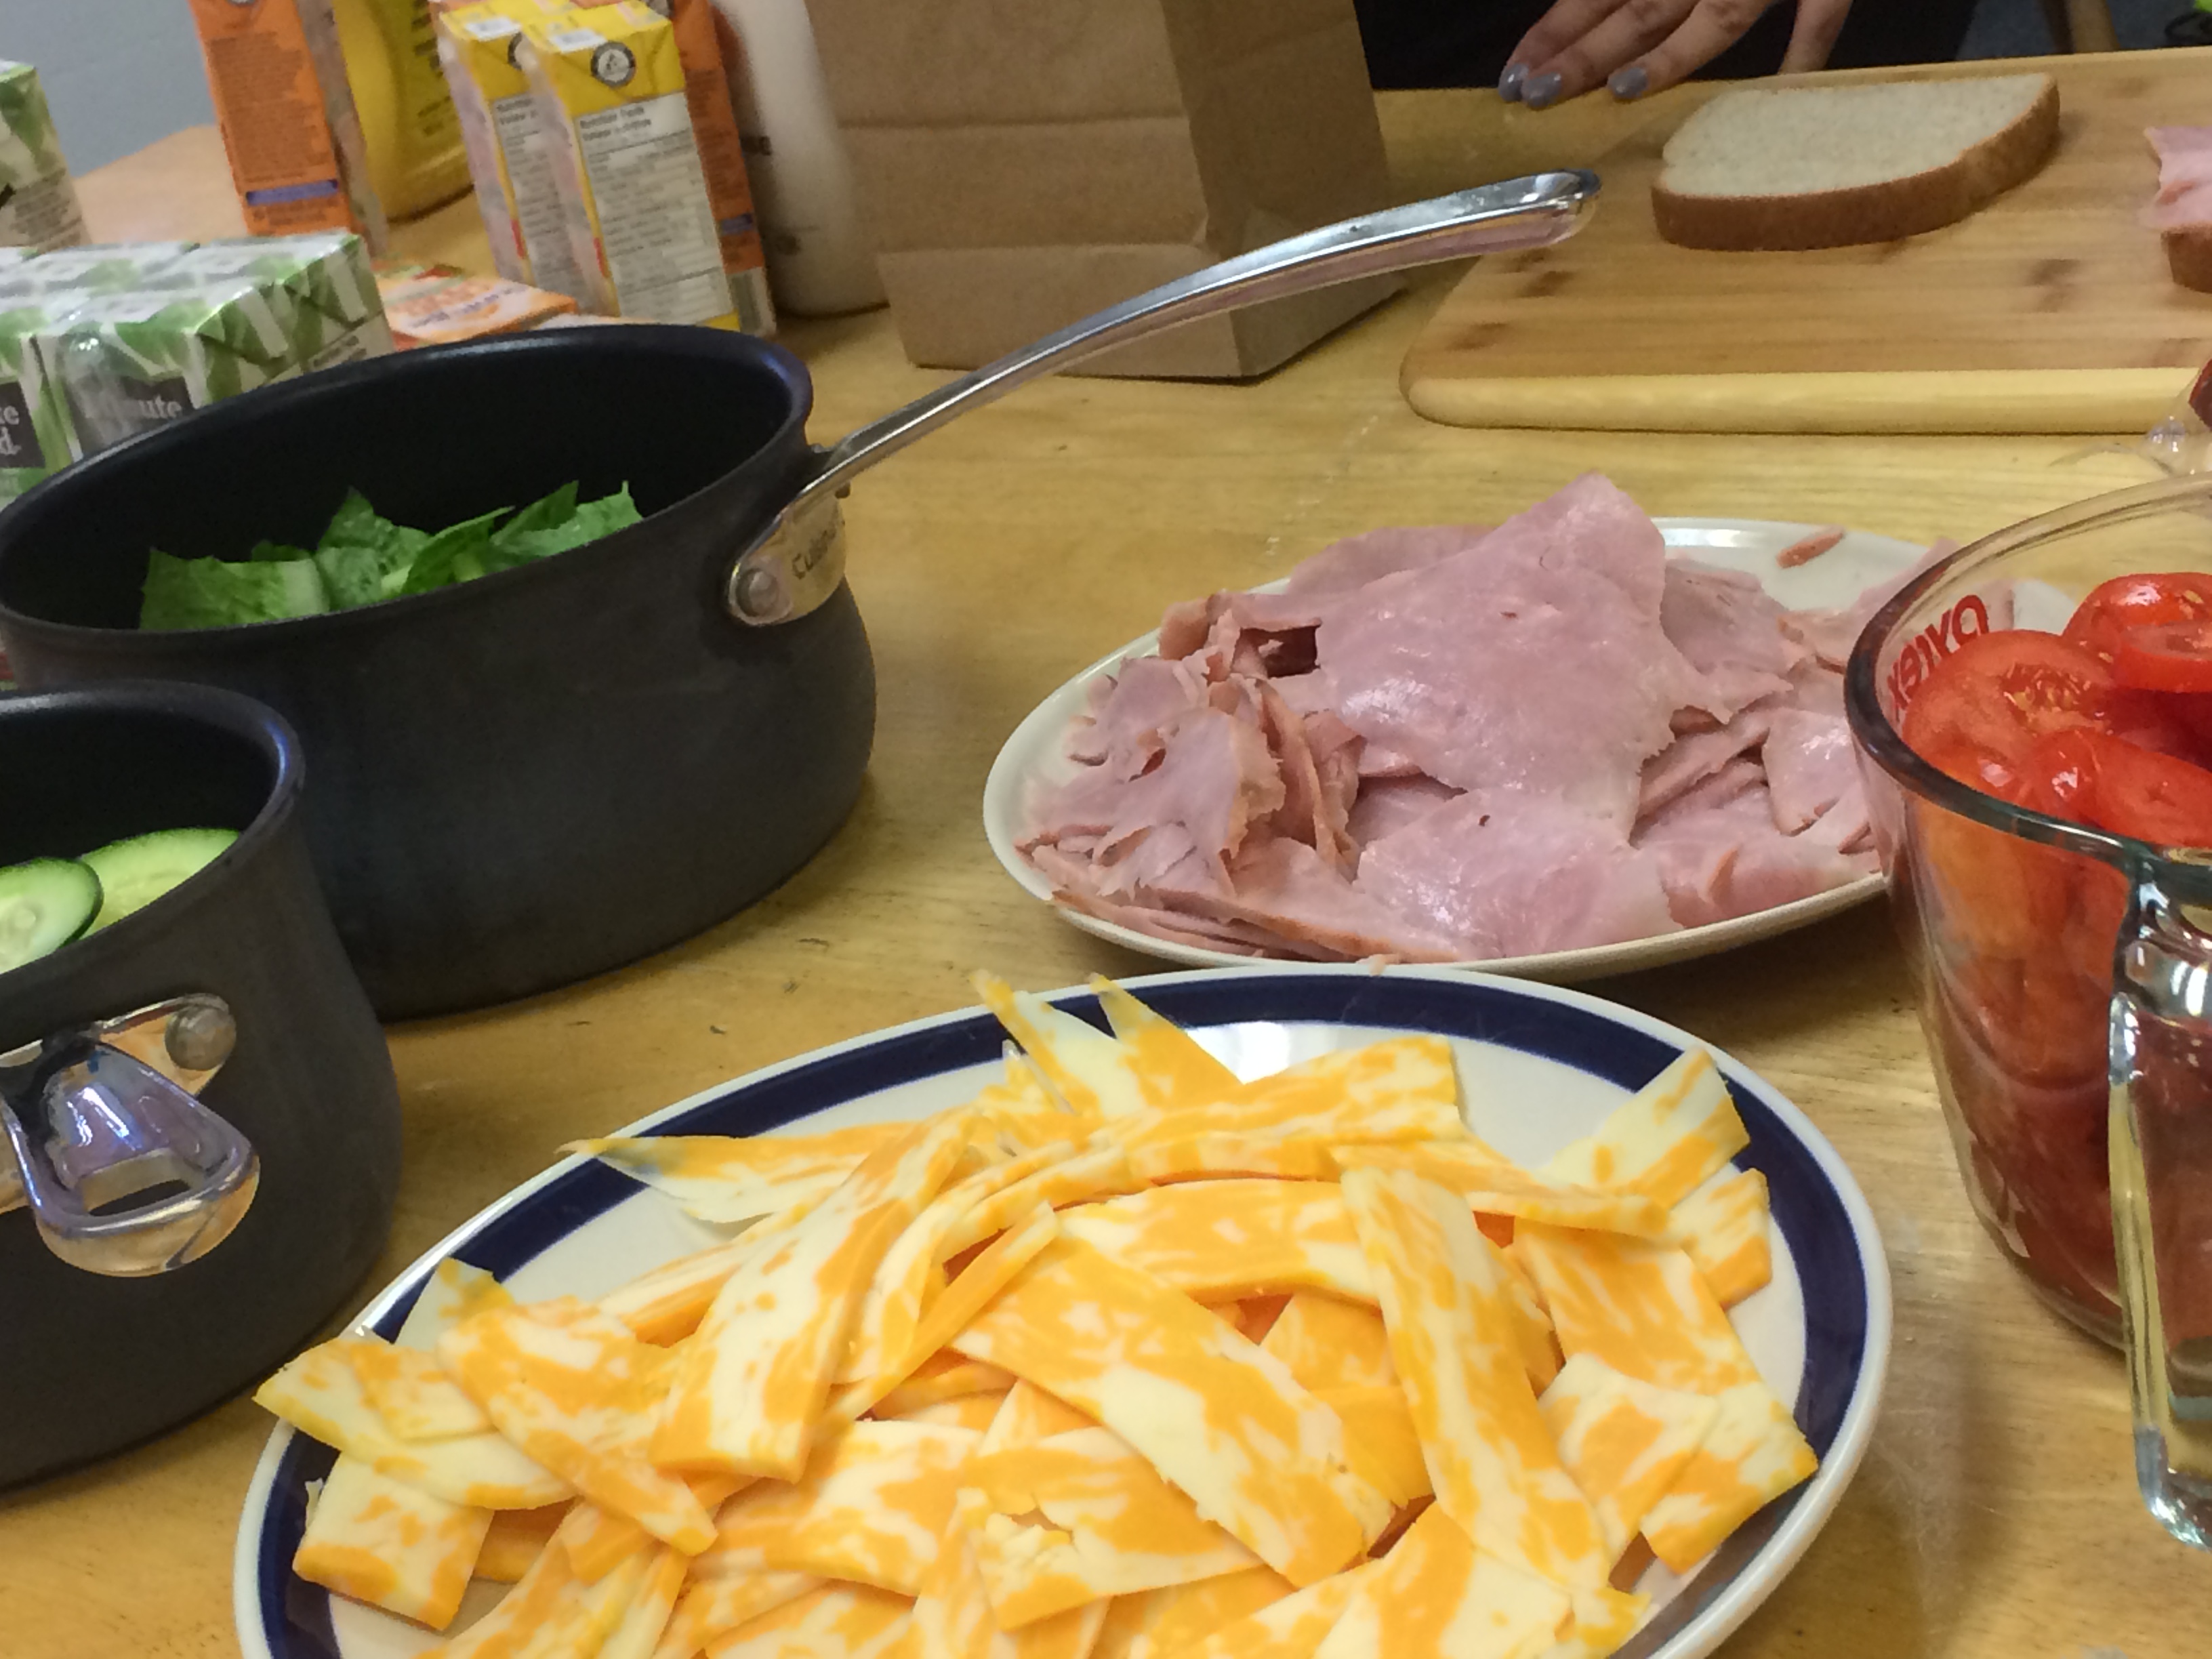
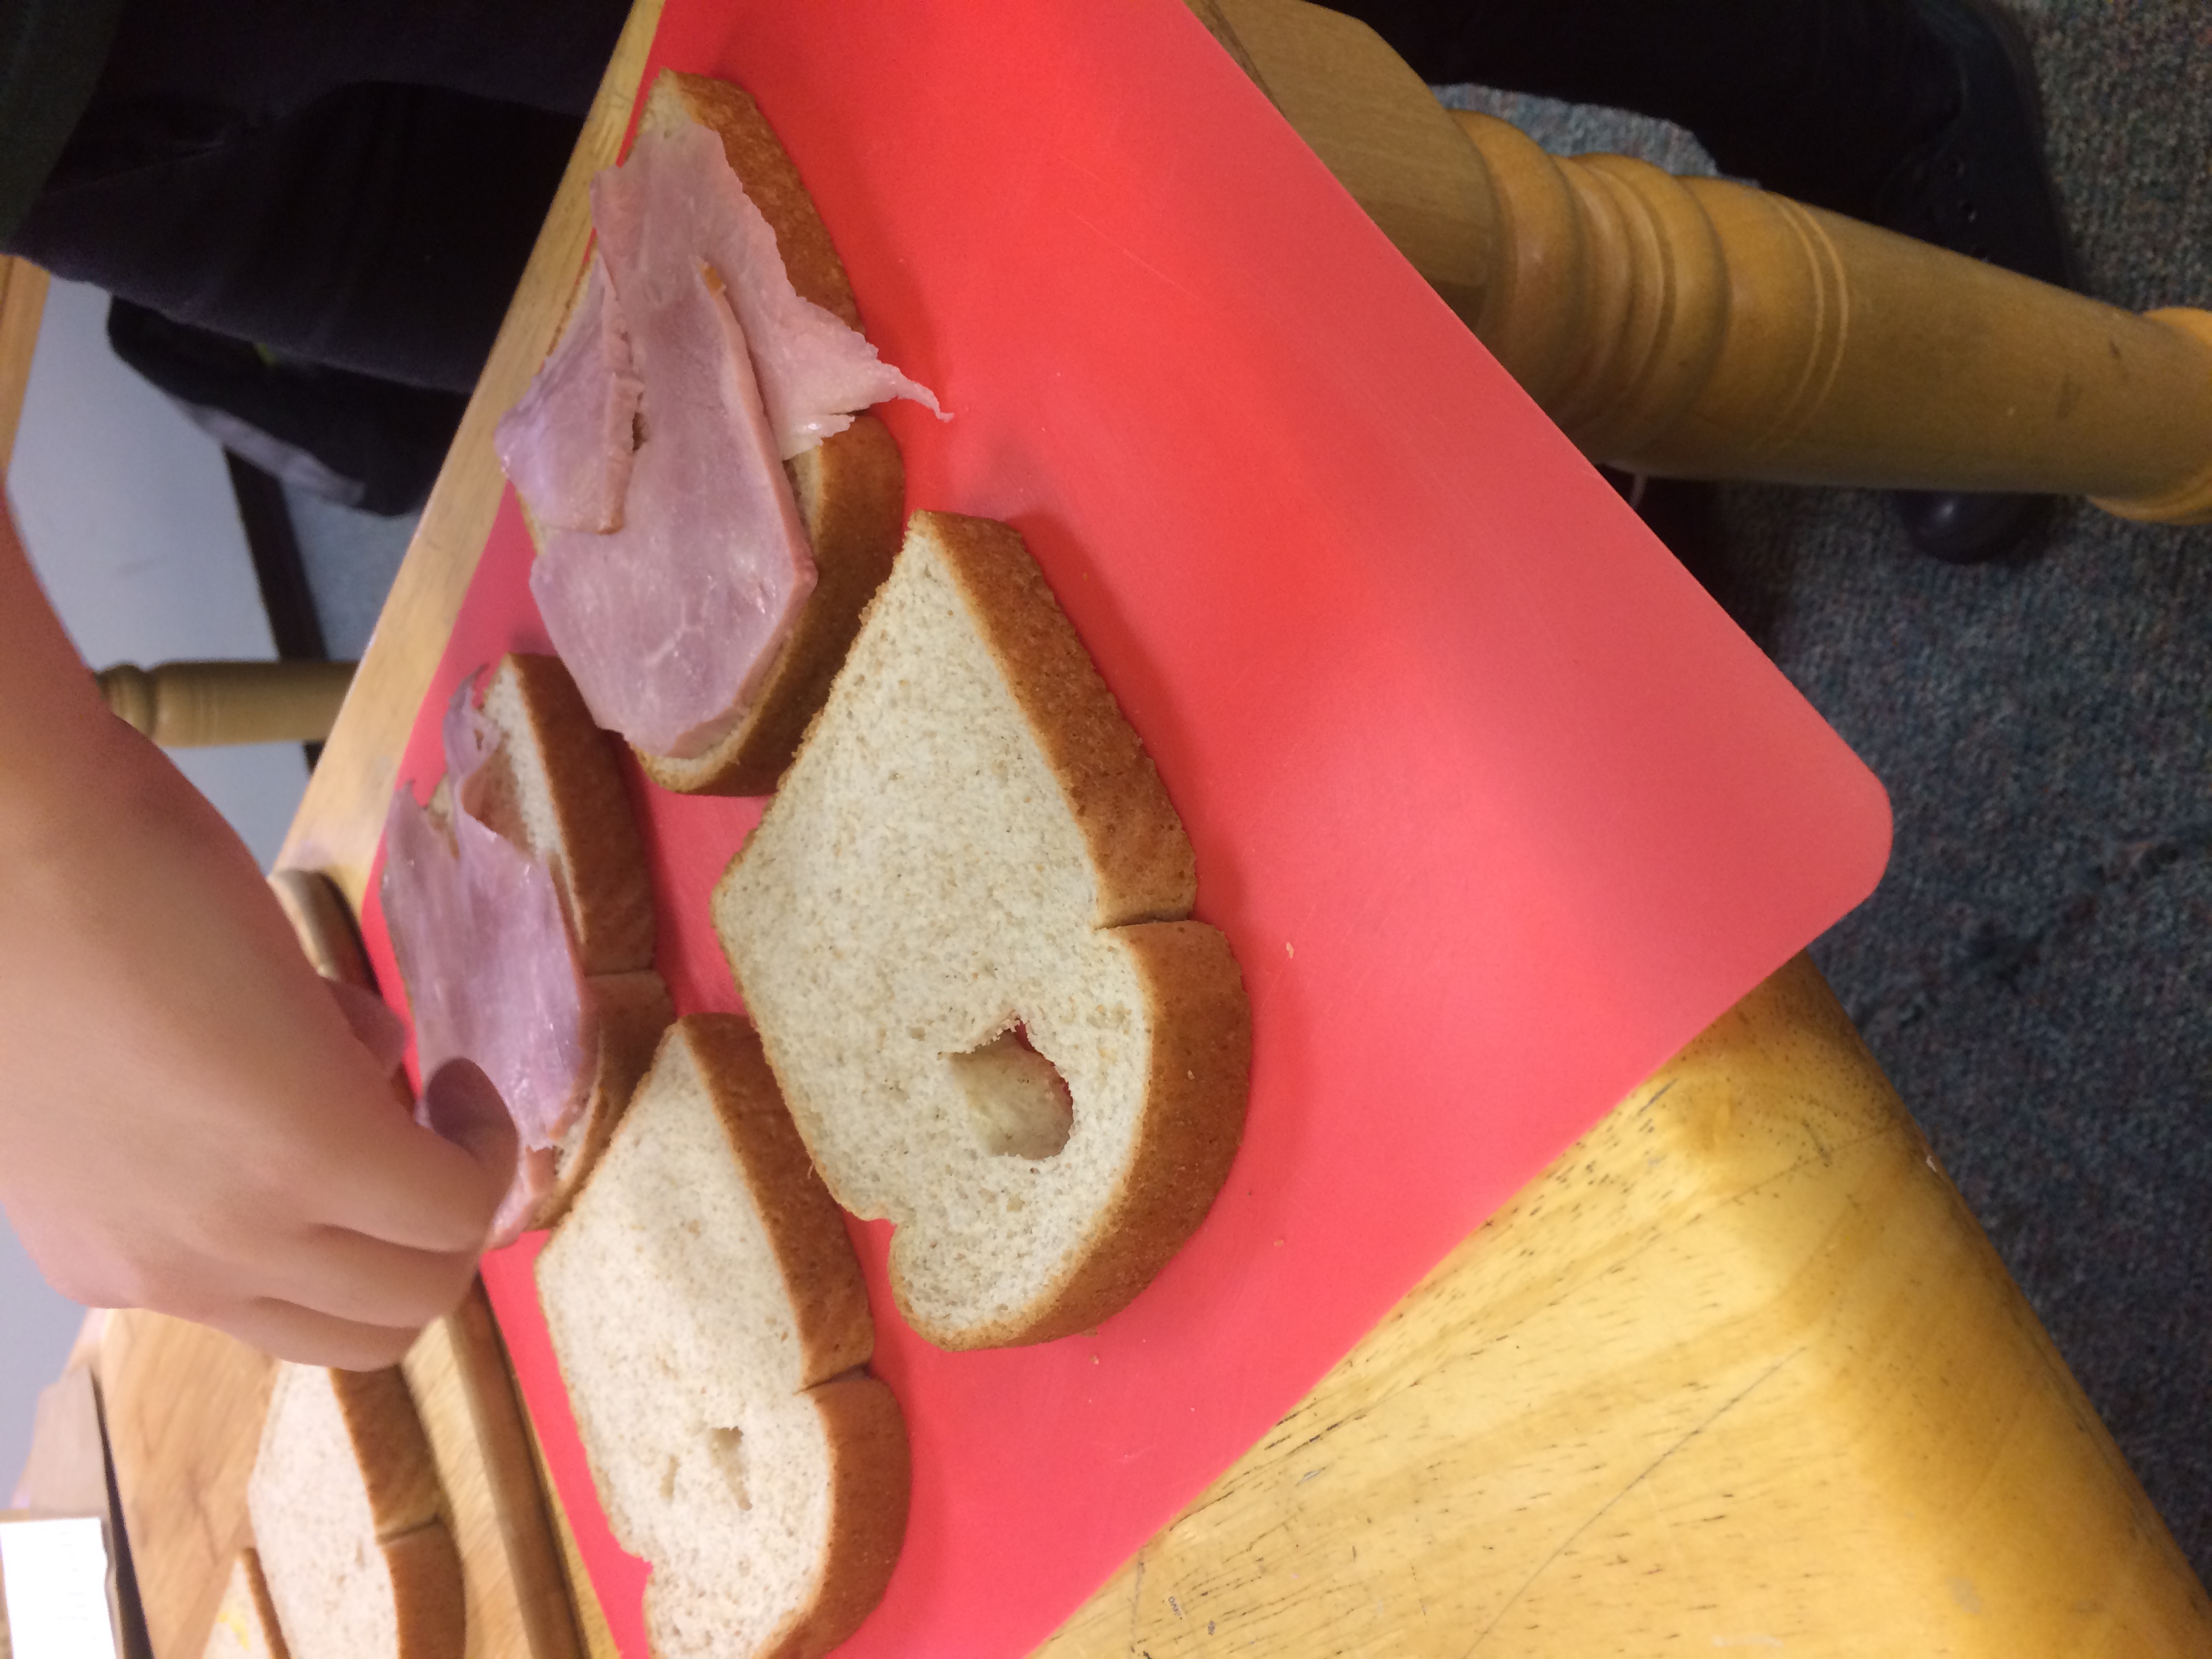
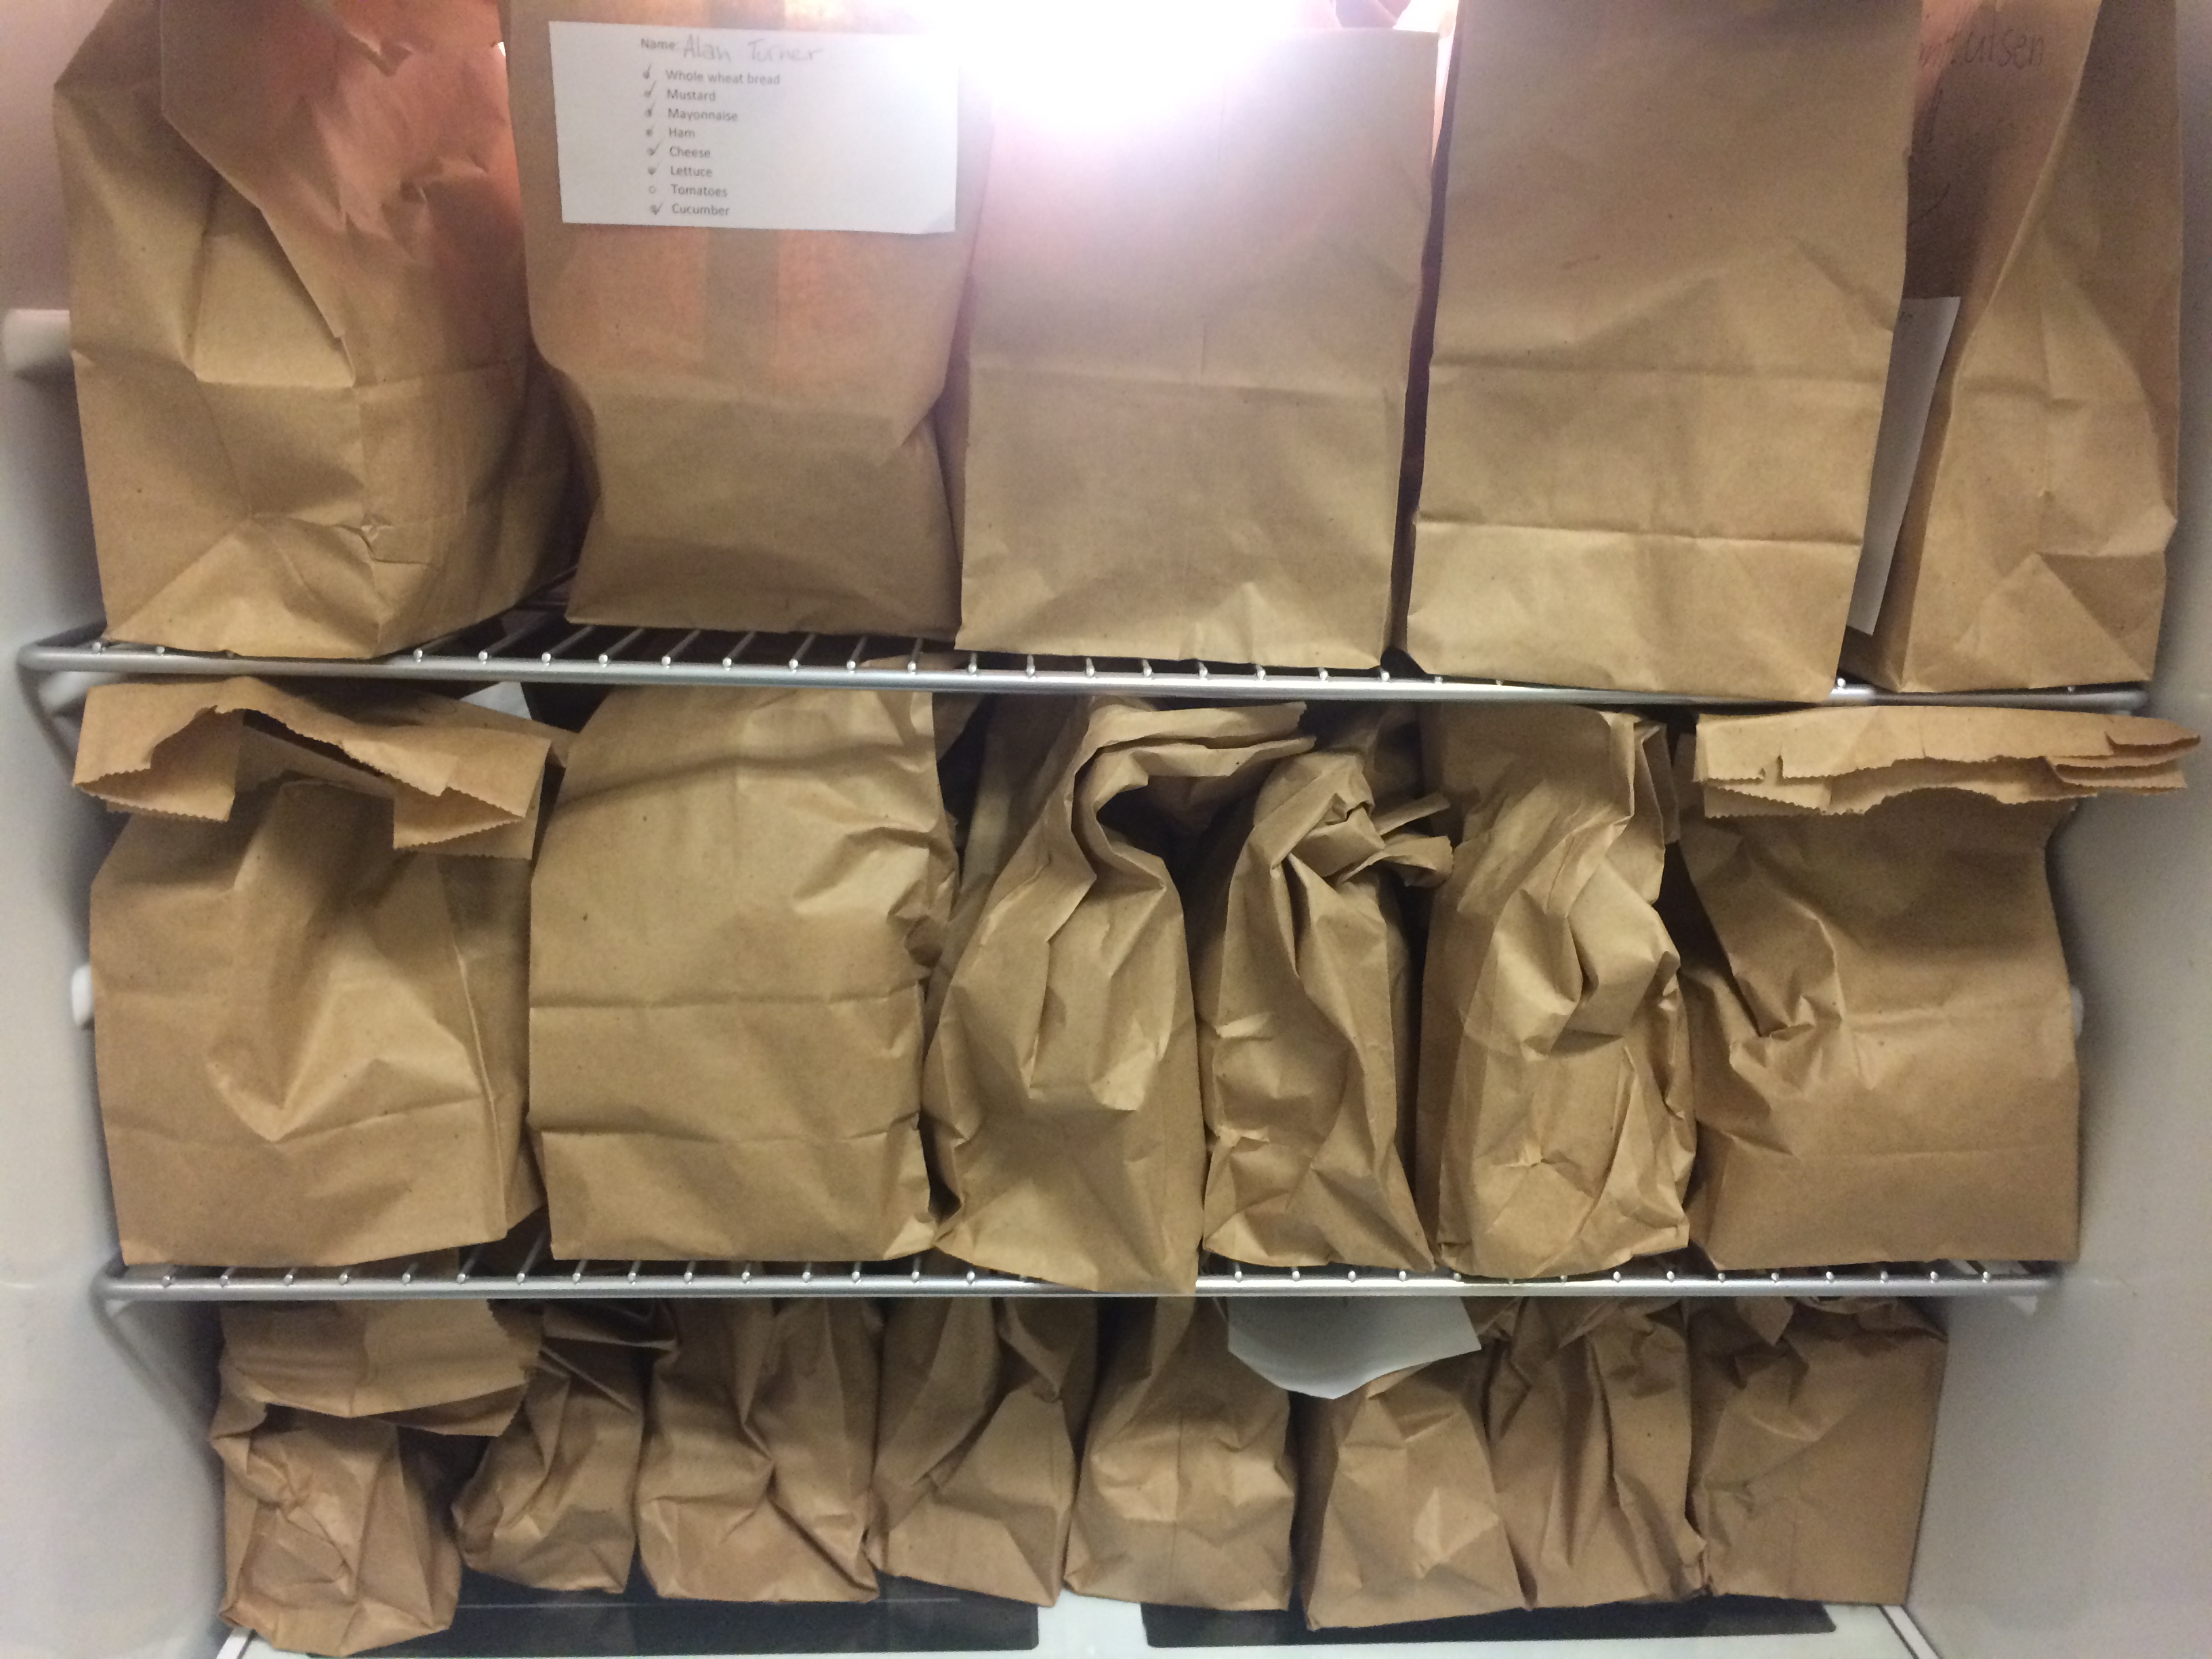
The fridge was really full by the end of it.